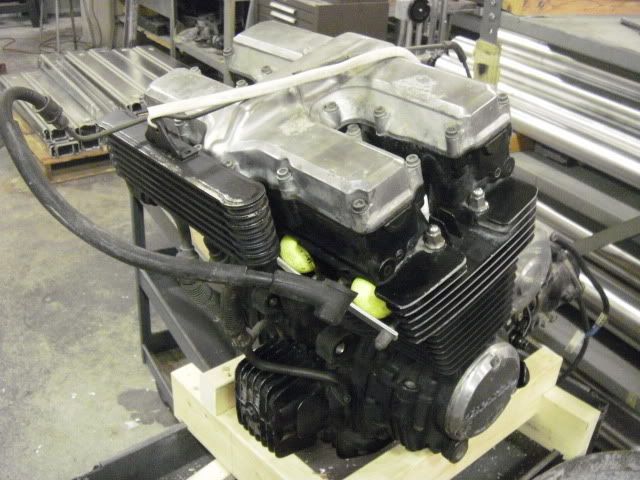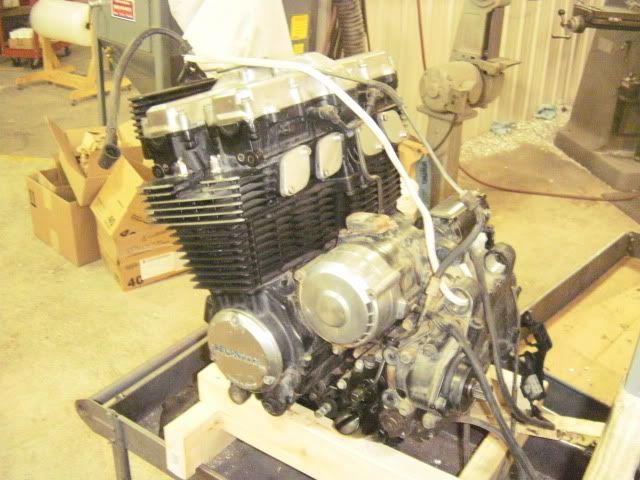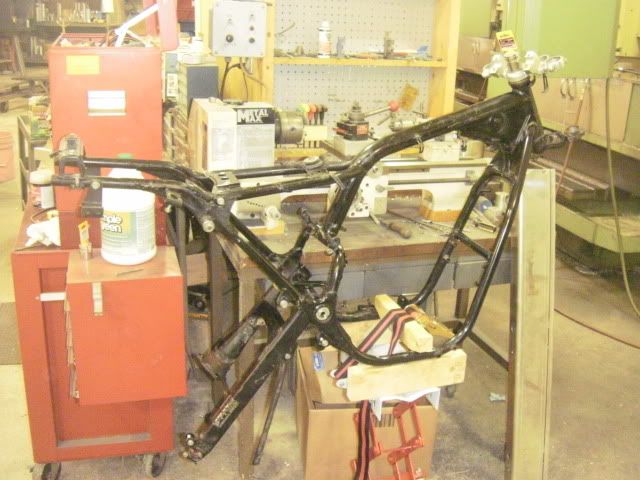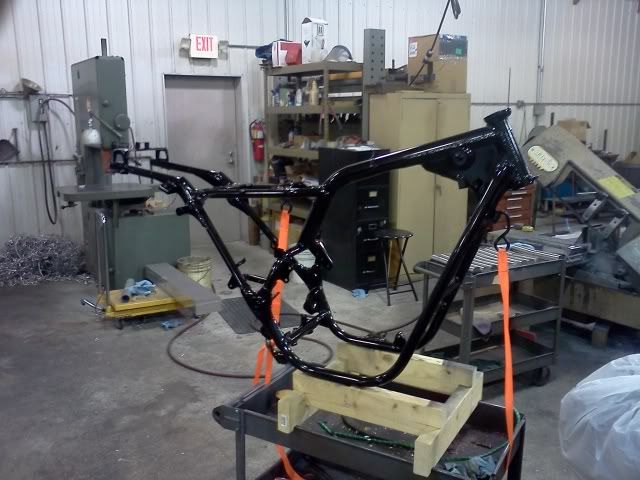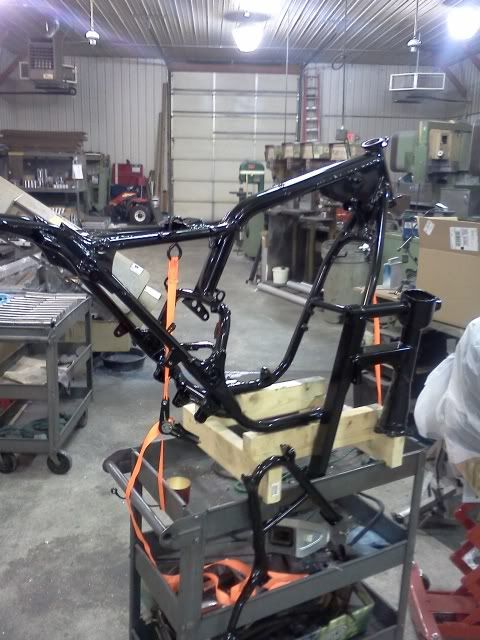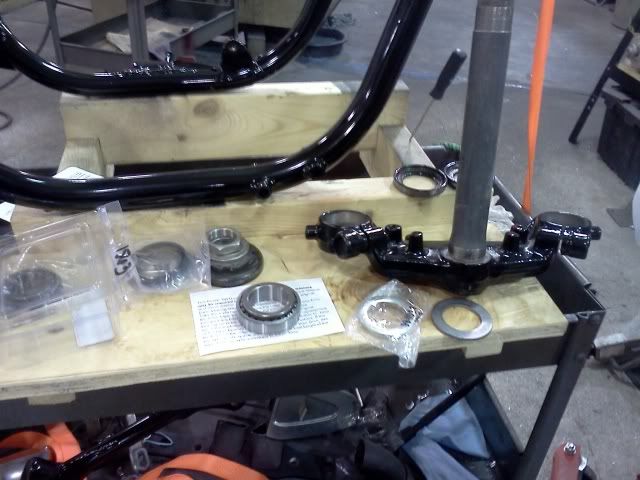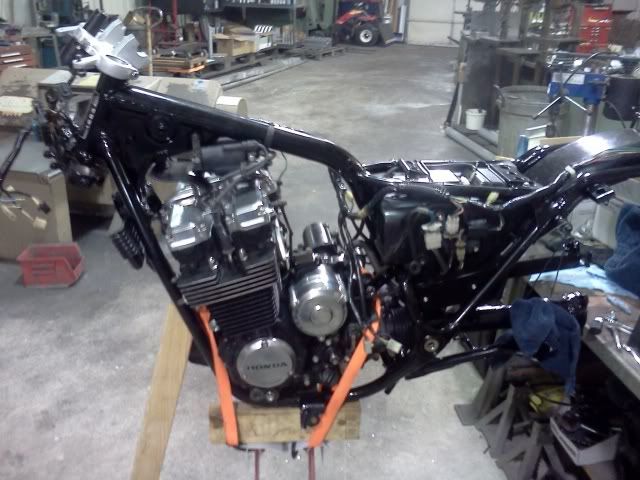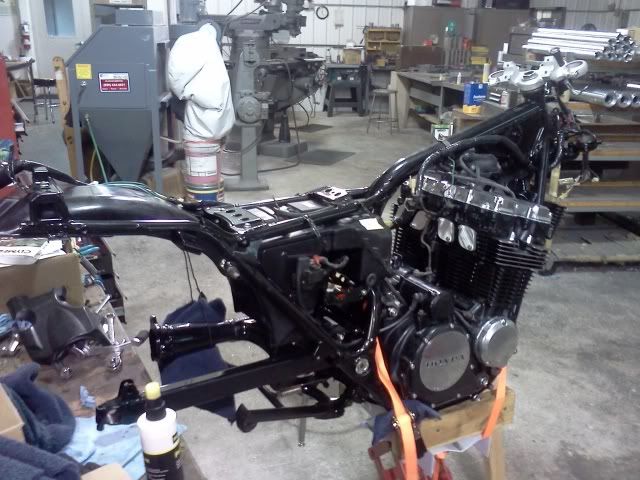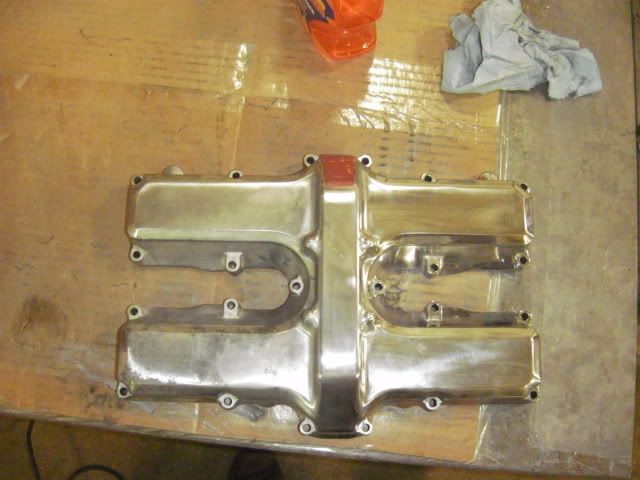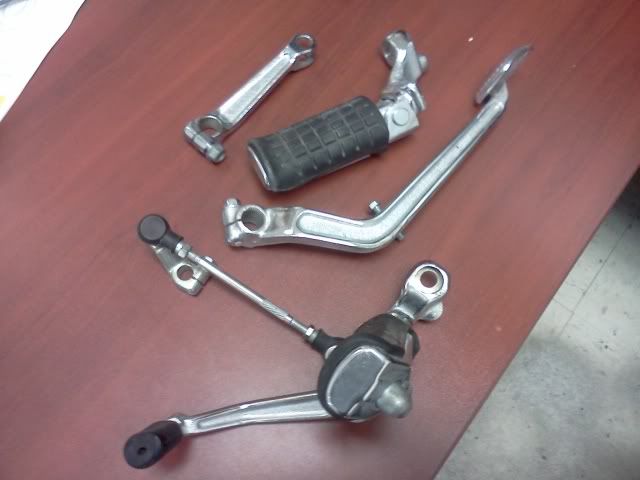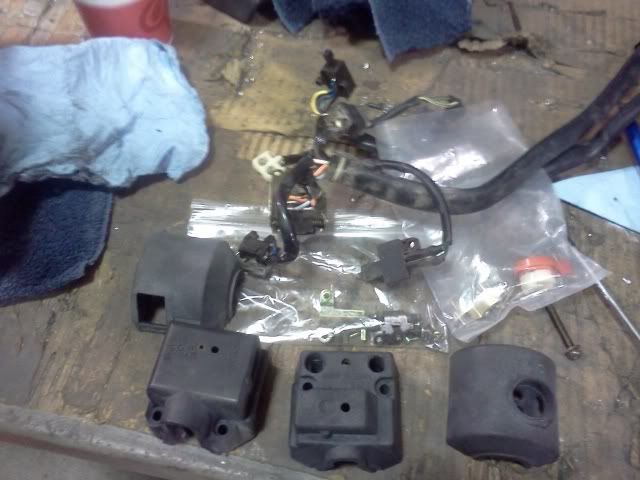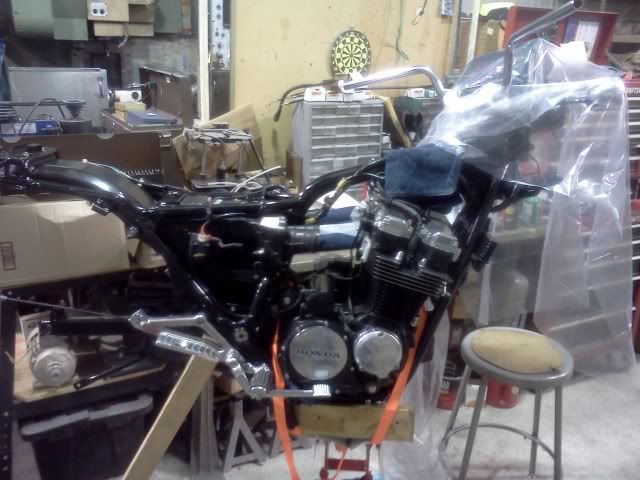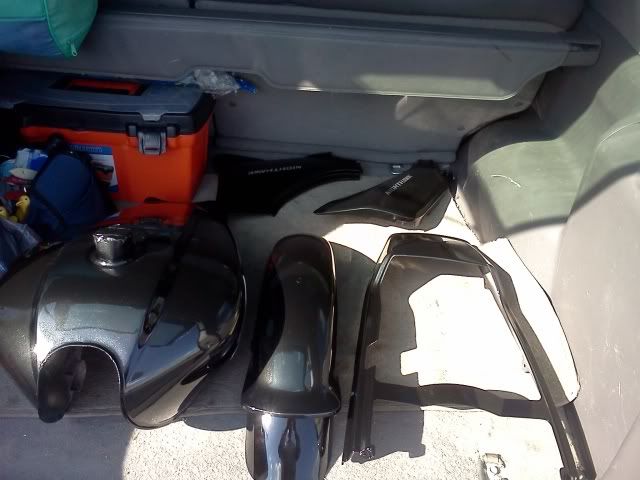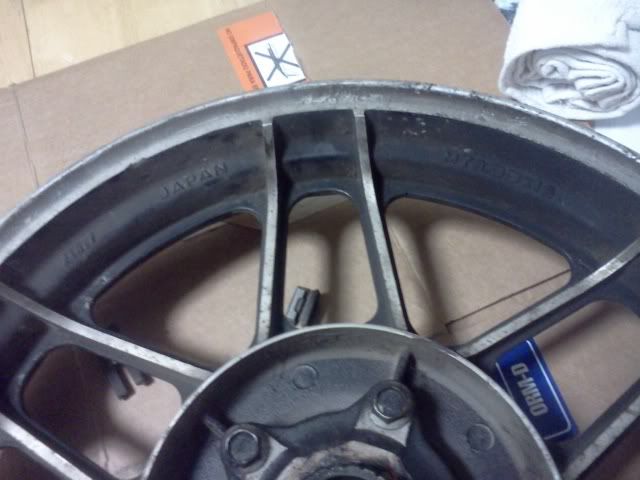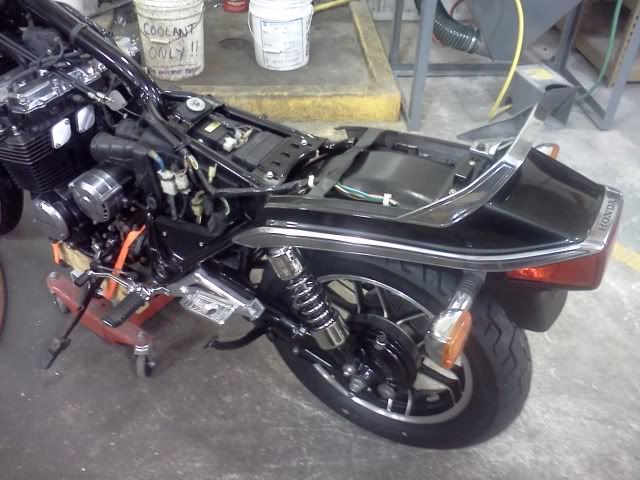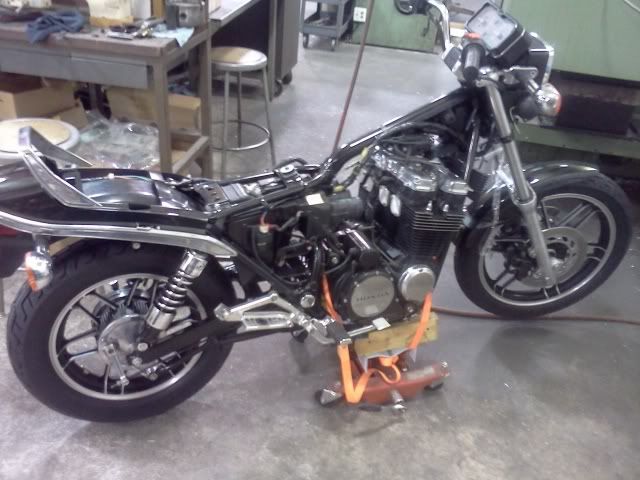
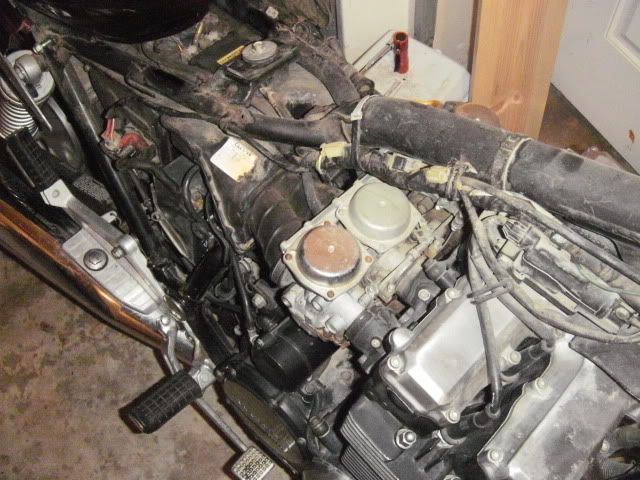
After tearing into the bike, it was really dirty and rust had started on the frame and bolts. The aluminum needs to be polished out too. I decided to tear it down to the frame and start from there. I plan on powdercoating the frame, getting the engine cleaned up and remounted, then clean and reseal the shocks next(after installing tapered head bearings). I did manage to remove the engine from the frame without taking the cam cover or the oil pan off. It was no fun though
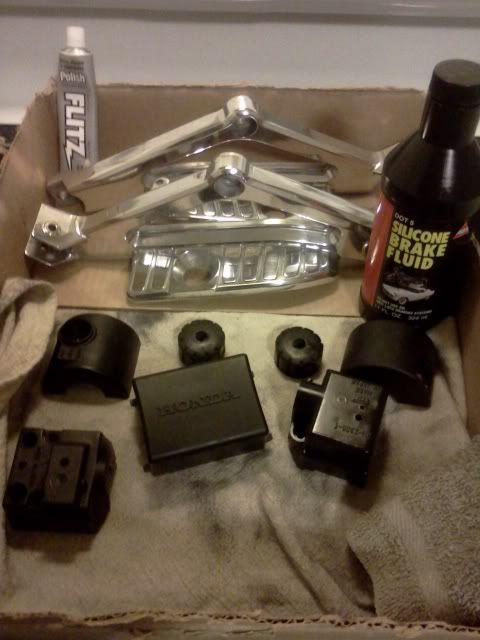
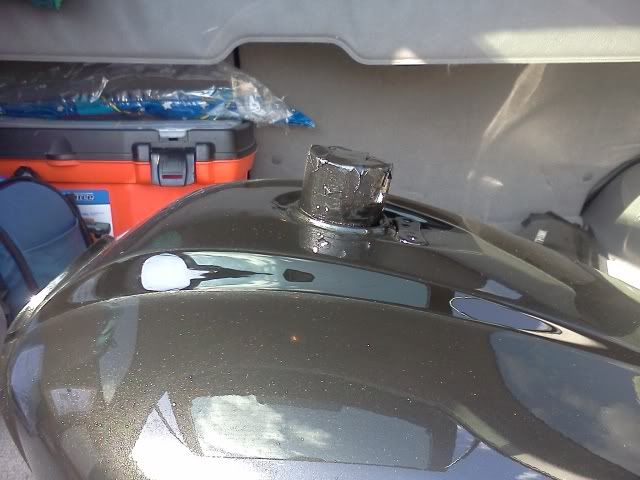
I finally found a more constructive use for my golfballs too!