
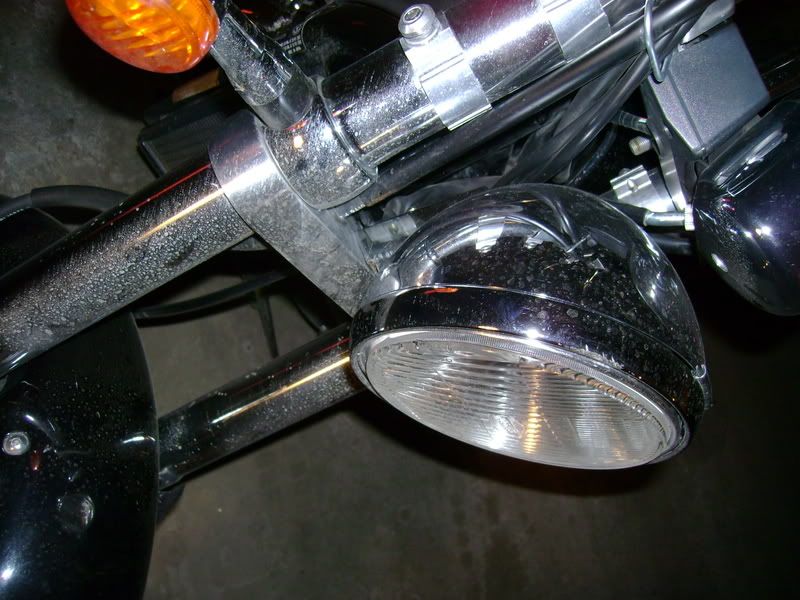
Okay, so because of a tip over (someone who shall go unnamed backed into his bike) Malice's headlight has been rattling. We pulled it apart to figure out what was causing the rattle. And it turns out that a locating/retaining tab had broken off causing the rattle. Meanwhile the mount itself was bent causing the light to shine slightly to the right. All in all it was a replacement situation.
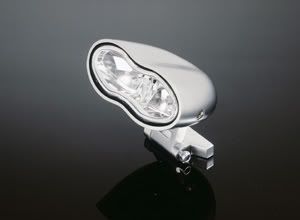
Looking up costs we were staring at a $300 replacement bill for parts alone, so he went the aftermarket route, and picked up one of these.
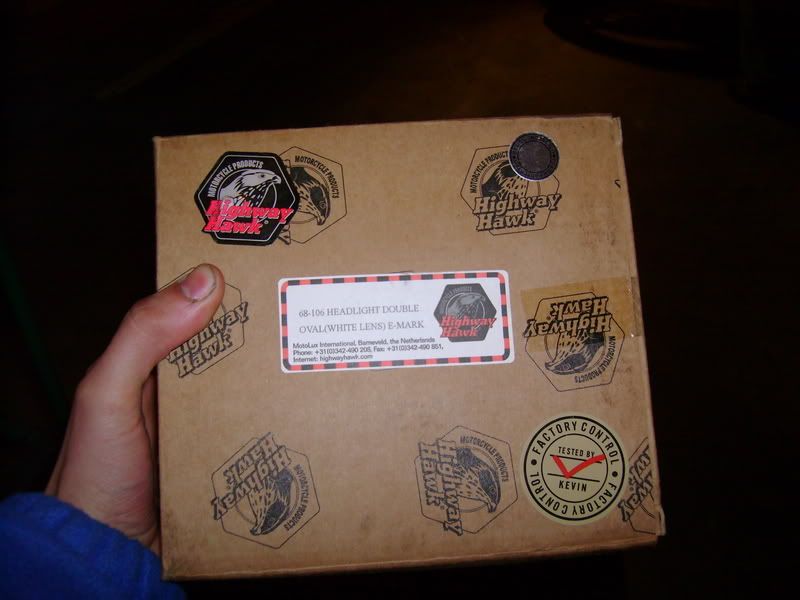
Thanks Kevin.
We picked a generally shitty rainy day and set about installing it.
Rolled the bike into the garage and fired it up to heat the place. Yeah, it's like 5 degrees out, and sitting still it gets reaaaaaaallly cold.
First things first, Malice removed the windscreen.
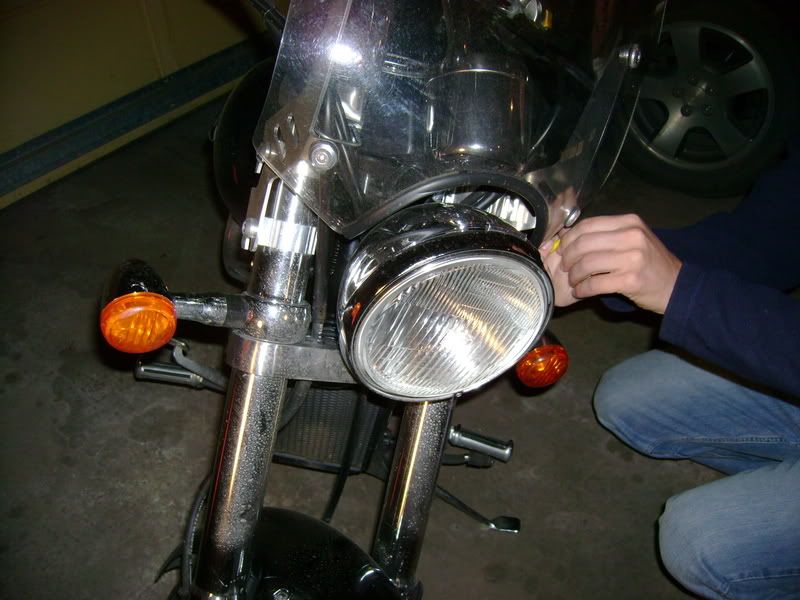
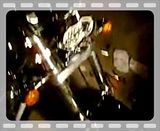
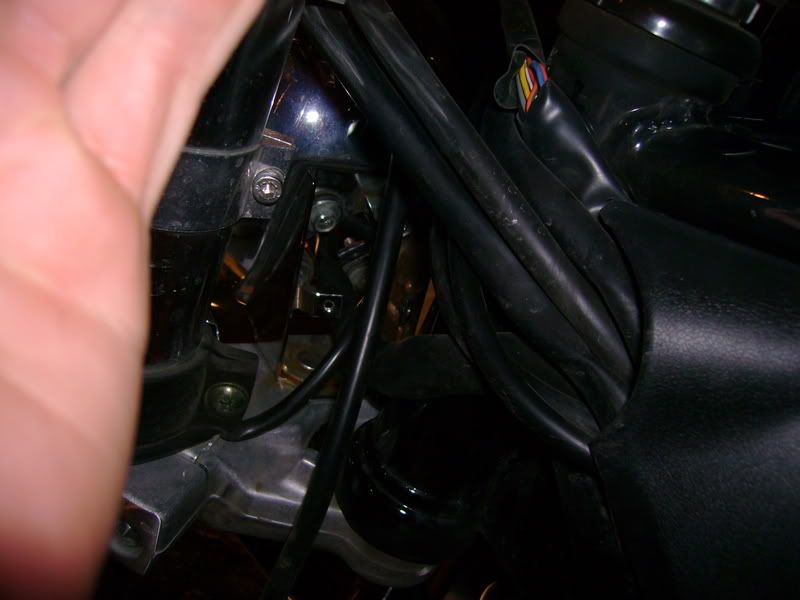
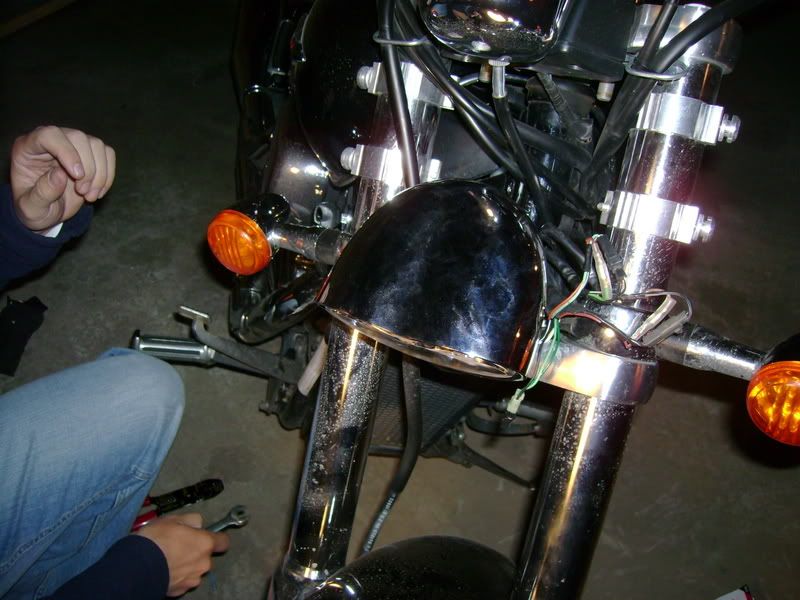
Two screws hold the headlight and lens itself to the backing, so those came out next to reveal the interior of assembly.
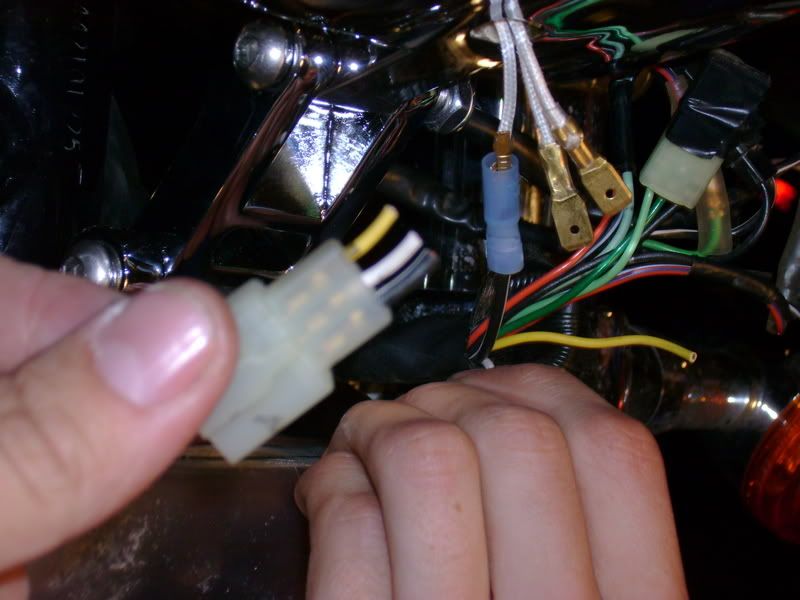
You can see one here
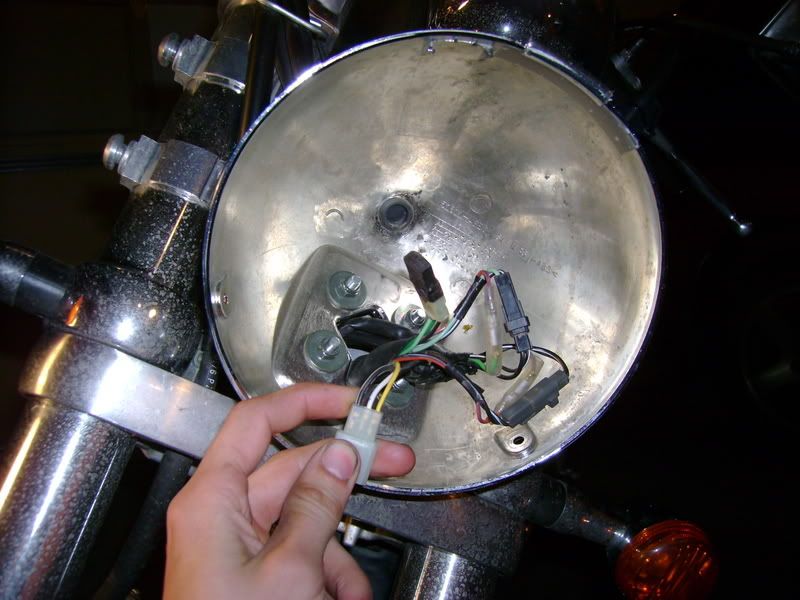
These three wires lead to the bulb itself. From experience, black is ground, yellow is high beam, and white is lowbeam (but we had to figure that out ourselves).
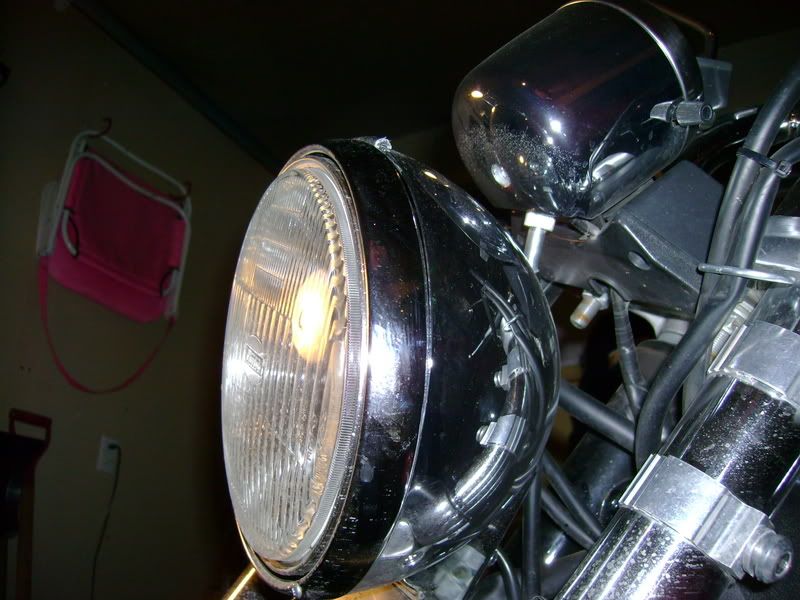
After the front was off we had to remove the back. There is a small cover piece on the back held on by two phillips screws remove it.
This will reveal the mounting bolts themselves - there are 4X10mm bolts with self locking nuts on there, remove all four and the backing will pull off.
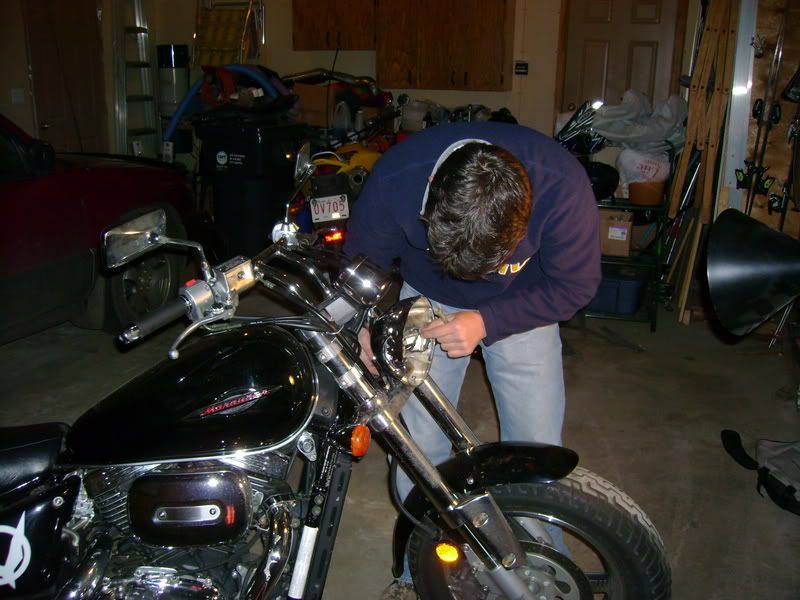
I left Malice with this unenviable job while I changed the air filter on my bike. He had fun. When I wandered back across the garage to check up on him I was greeted with a, "that's the last of them, I've dropped a nut."
Evil Grin, "Well, one down one to go I guess... it'll happen someday."
We quickly tracked down the lost nut (note to everyone keep a clean workspace makes it easy to spot metallic stuffs).
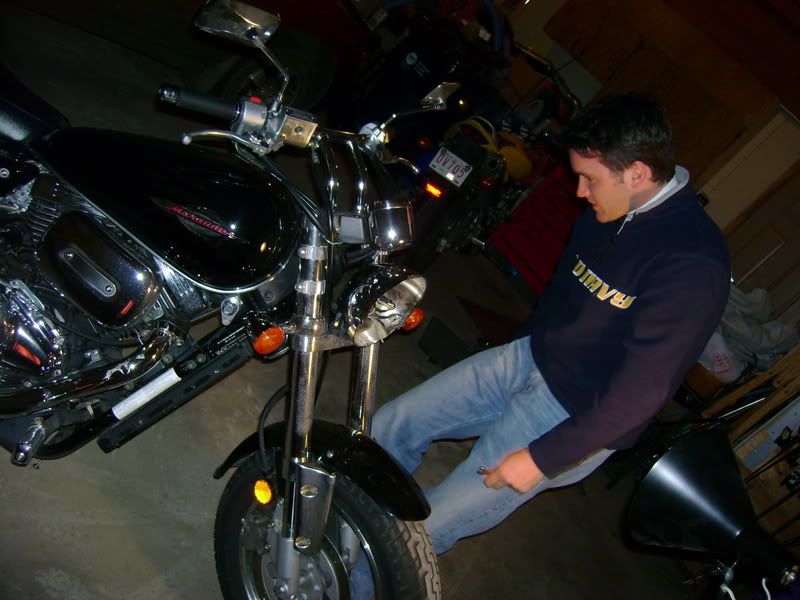
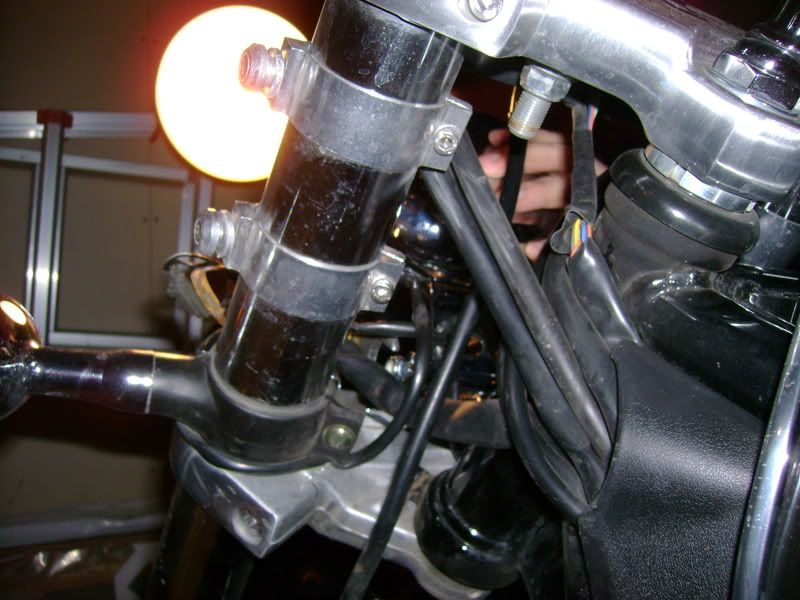
Only thing left is the mount bracket, there are 2X10mm self locking nuts under the lower triple tree that hold the bracket in place. The "bolts" are actually attached to the bracket itself, so nothing is needed to hold them from spinning.
These are the holes the headlight mounting bracket fits through.

The supplied tapped mounting holes line up with the holes in the triple tree exactly!
As we had no metric bolts in stock (Imperial household as my grandfather was a mechanic). We used two of the bolts that held the original headlight backing to the mount bracket. Perfect size, perfect length, they tightened in nice too... use a little loctite on them, just to be safe.

Get out of the DAMN PICTURE!
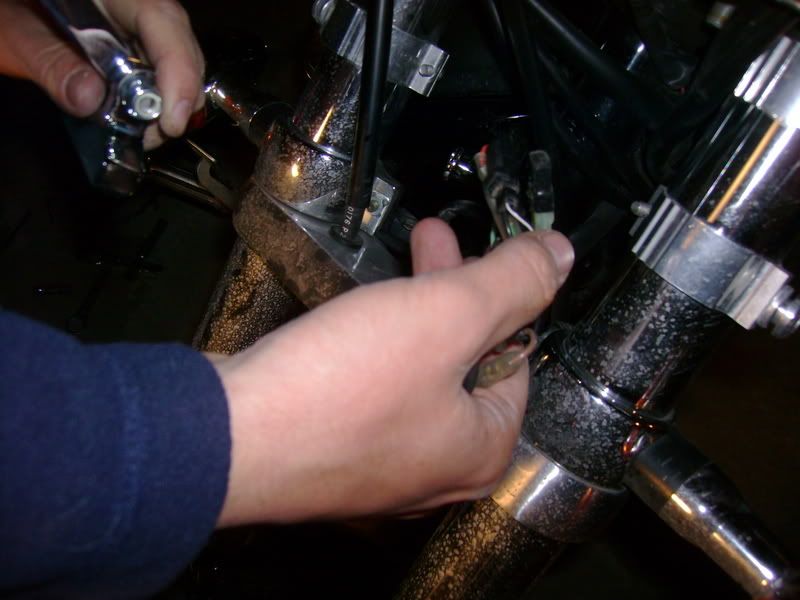
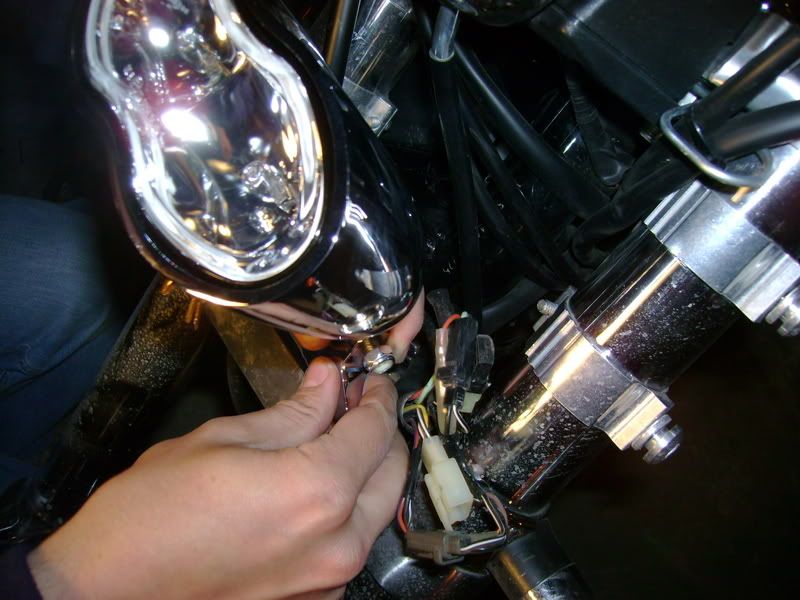
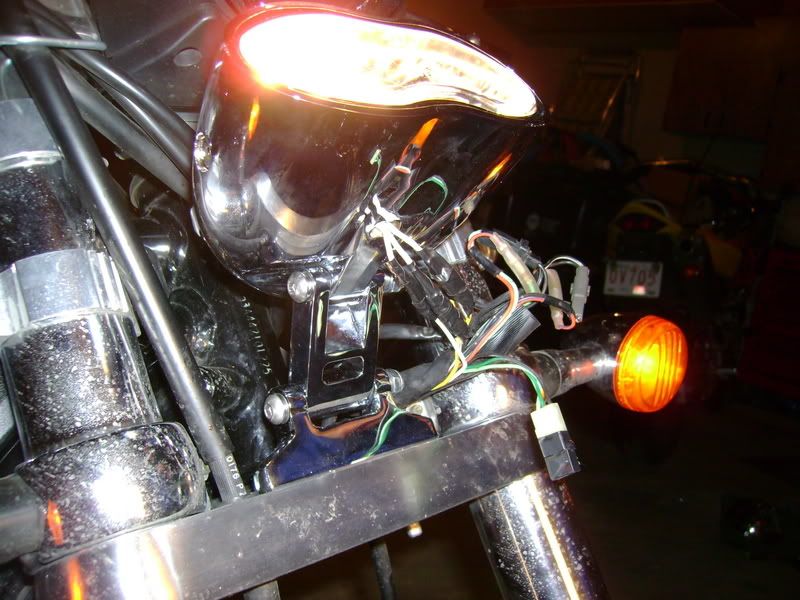
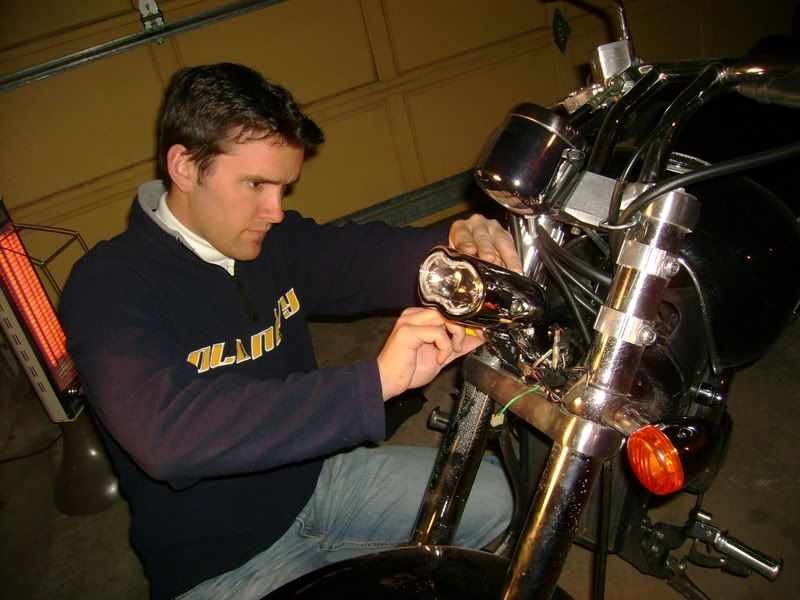
Okay, now we need to wire it up.
Here's the problem if you look back at the original pictures it was a white plug to the headlight, we get: 2 spade and 1 round male connectors. Book it to Radioshack (I refuse to call it circuit city) and pick up the appropriate ends, plus a crimper. And head back.
Test the fit of the new ends.
Okay, now common sense would indicate that the one different one - the round connector on the headlight would be the ground. The ground on the bike itself is black with a white stripe. This was determined based on the fact that every accessory had a black with white stripe on it. So we connected that first.
Strip back the wire, put on the connector, crimp into place.
Now we pick a second one, we chose yellow and hooked on a spade connector and plugged it into one of the others randomly. Then turned on the key... nothing happened. Okay try the highbeams. LIGHT! And "procreating" bright too!
We did the final connector, and it worked as the low beams. Only one is on at a time on the bike, but it did that stock.
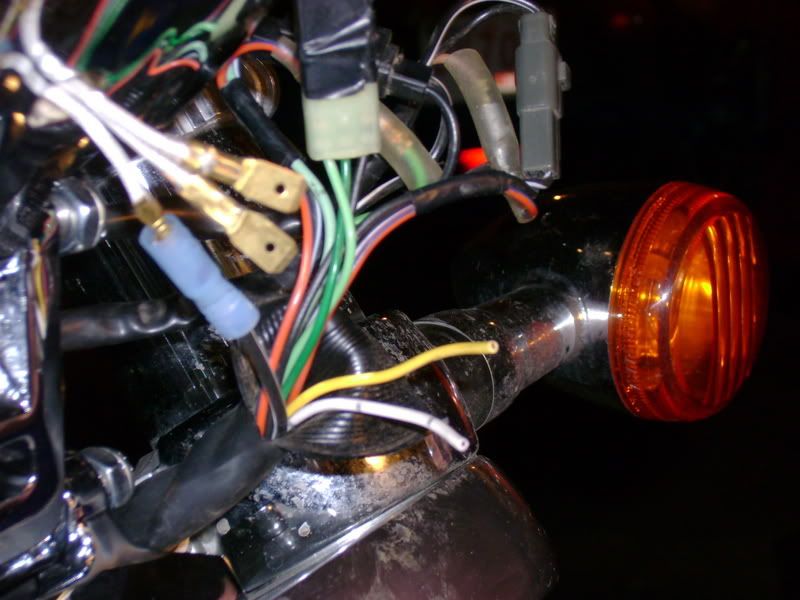
Each connection was then wrapped individually in electrical tape in order to prevent an accidental short to ground between them, and then all three were taped together to make a clean loom.
The old loom was split down it's length and the rest of the wiring was routed in behind the light and ziptied in place to keep the front end looking clean.
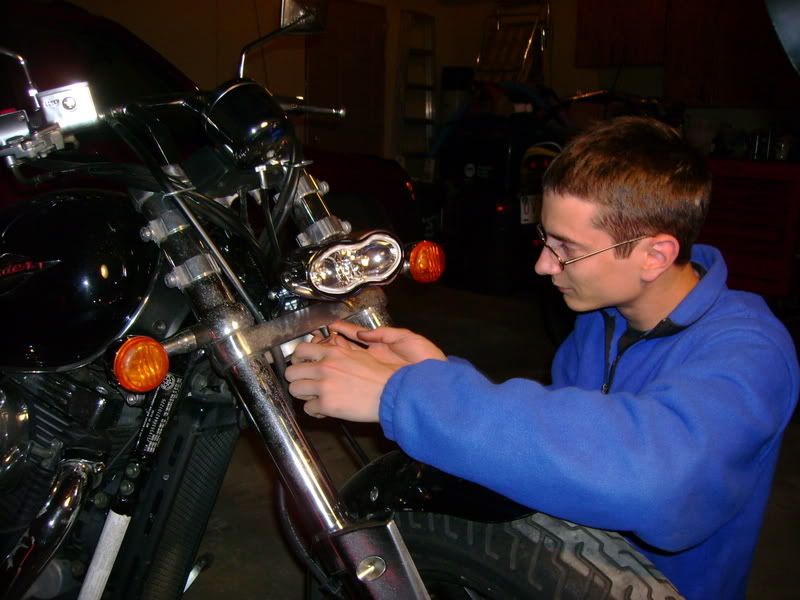
After that came the aiming and tightening of the whole light.
You'll need a number 5 allen wrench, a 1/2" combination wrench, and a 1/2" thin walled socket.
The mount is interesting in that in order to hold the light in place you need to tighten the allen bolt in as far as you can - because the right side of the mounting bracket is just a hole, but the left side is threaded. This tightens the bracket around the swivel point and stops it from moving. Then the nut is threaded on the end to lock it in place. Took a while for us to figure that out. As common sense has always been - tighten the nut, not tighten the bolt, as it carries the most friction. But we got it eventually... though it required completely removing one of the bolts.
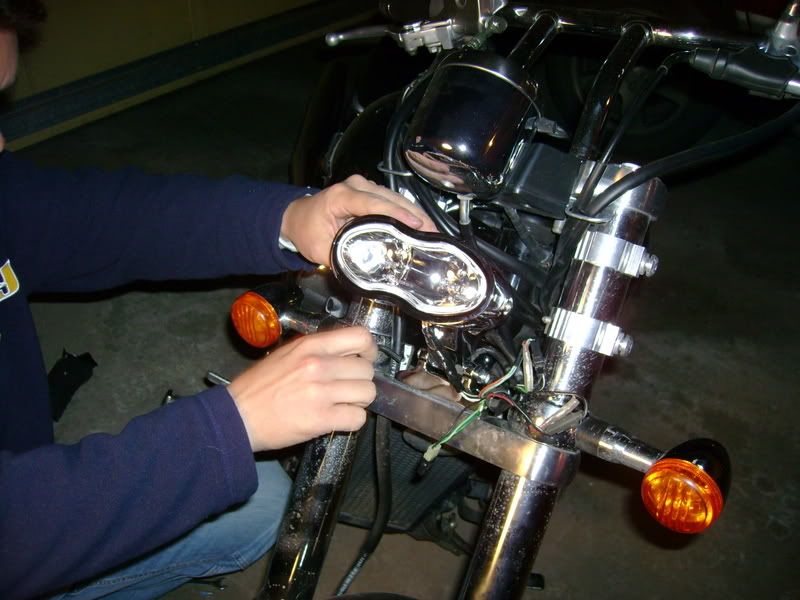
You need the socket to tighten the nut on the side of the headlight because there is not enough clearance to turn the wrench around it. And the wrench works best on the lower nut because of clearance issues around the triple tree.
To aim the headlight, set the bike on level ground with the rider on it, and measure the distance between the middle of the light and the ground. Shine it on a wall 10ft away, the height of the center of the highbeam should be the same as the original measurement.
Sadly my camera died at this point, so we have no finished pictures, but I'll try to get Malice on here to post a review and some final pics. The Marauder got a little sweeter today in my opinion. And the lights are bloody bright. All in all it was a quality piece of kit.