
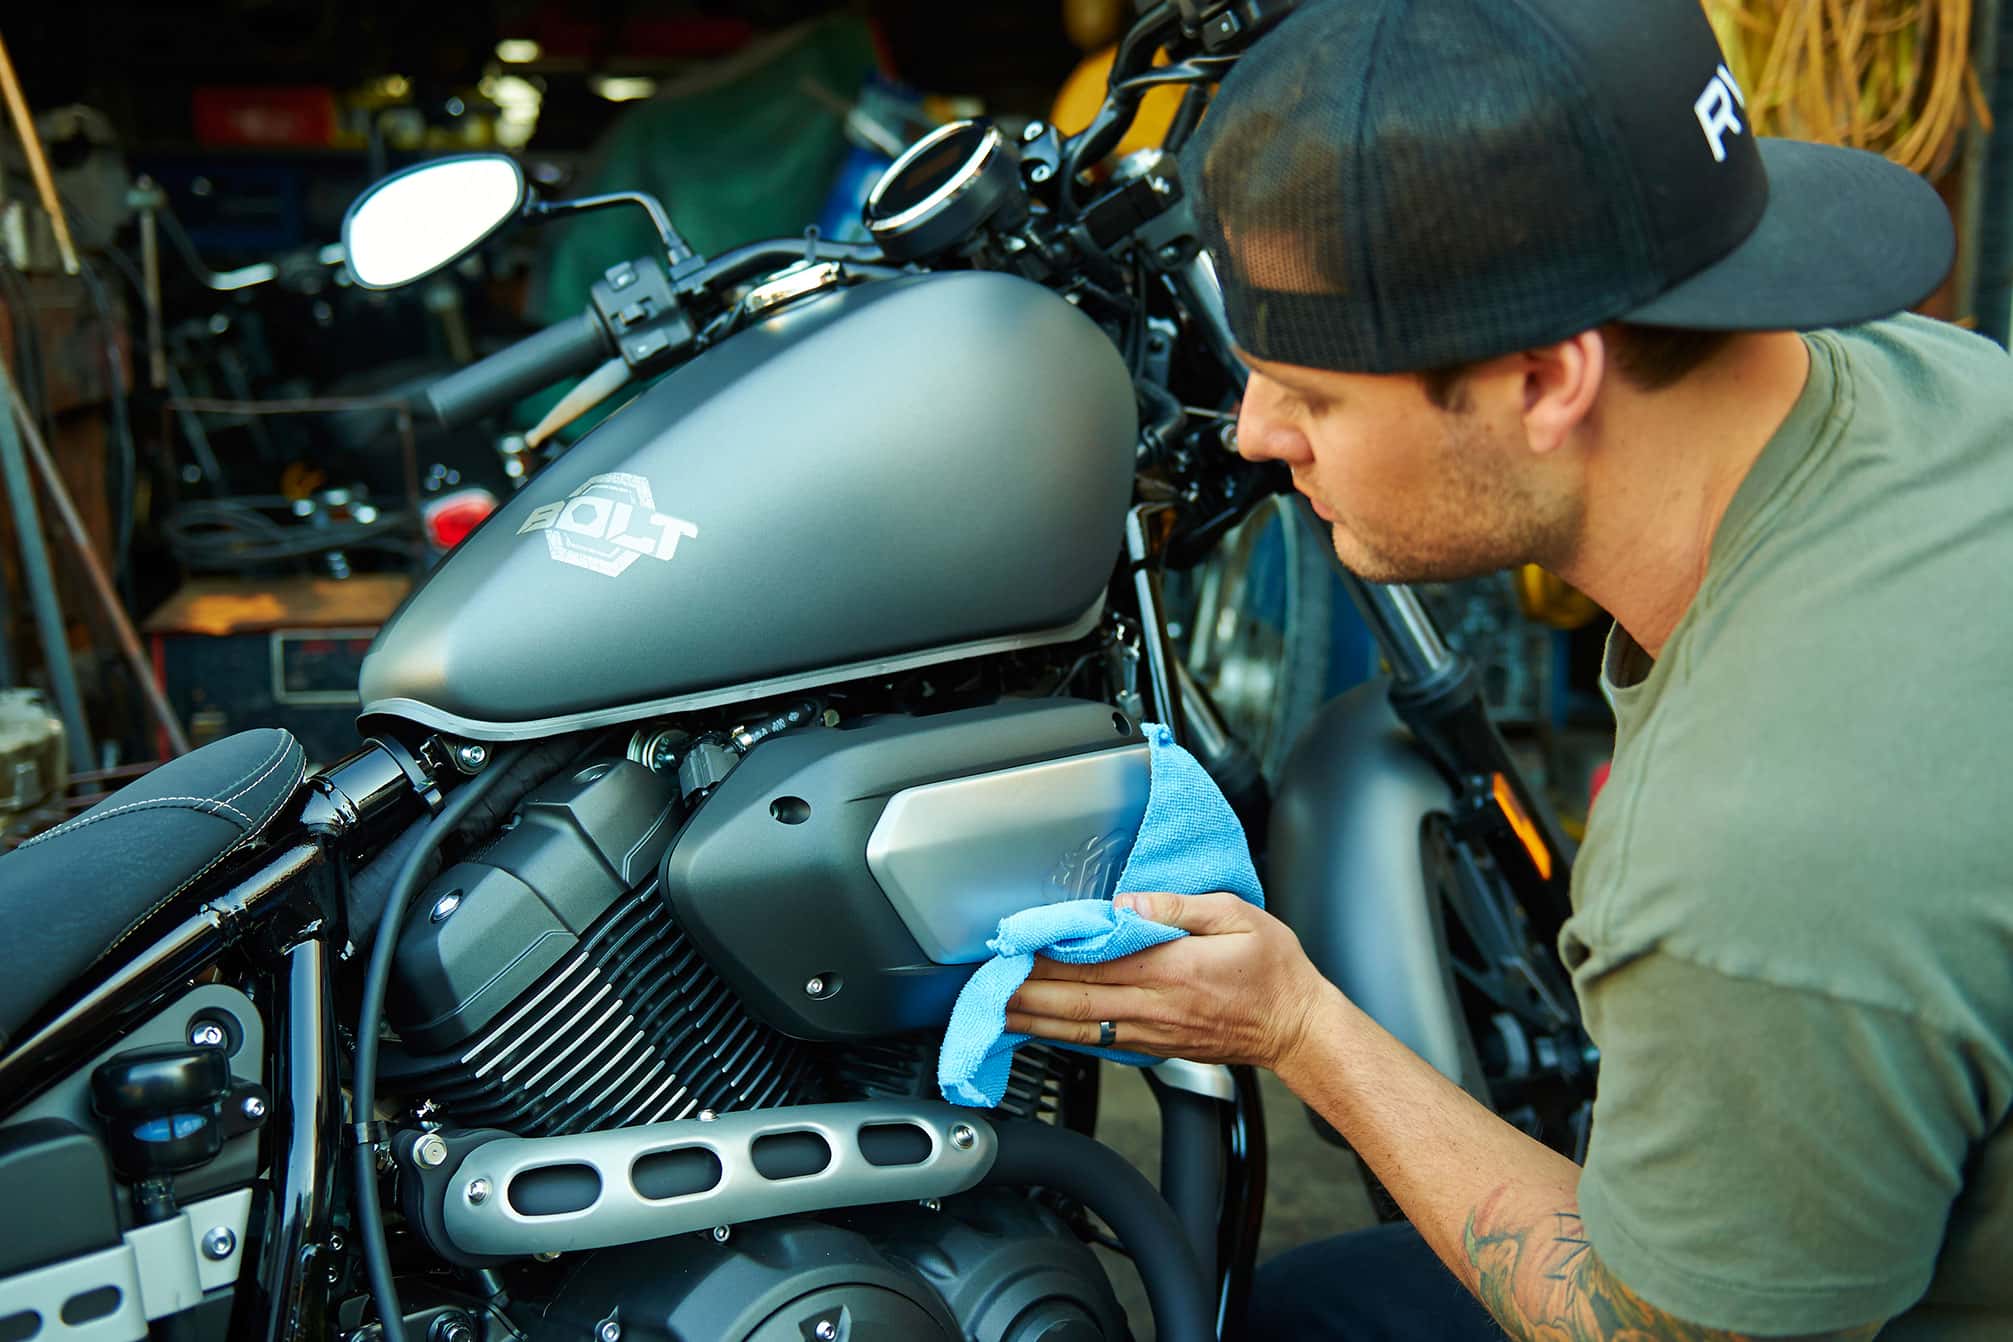
How to Check a Used Bike Before You Buy
A shiny paint job can hide a world of problems. This 10‑point checklist helps you spot red flags before handing over cash.

1. Paperwork & VIN
The Challenge: A clean bike with dirty paperwork is worthless. Title, registration, and VIN must all match.
🚫 Myth‑busting: “If the seller seems trustworthy, the paperwork must be fine.”
Reality: Even honest sellers may not realize issues like liens, salvage titles, or mismatched VINs.
✅ Rider Strategies
- Check VIN on frame and engine – they must match paperwork
- Run VIN through local registry for theft/salvage history
- Confirm seller’s name matches ownership documents
🛠️ DIY Drill
Practice locating VINs on your own bike (steering head, engine case). Get familiar with where to look and how they’re stamped.
| What to Check | Red Flag | Notes |
|---|---|---|
| VIN on frame | Filed, scratched, missing | Possible theft |
| Ownership papers | Different name | Walk away |
| Title status | Salvage/rebuilt | Lower value, higher risk |
2. Tires & Wheels
The Challenge: Tires are expensive, and wheels reveal crash history. Worn rubber or bent rims mean hidden costs.
🚫 Myth‑busting: “If the tread looks good, the tires are fine.”
Reality: Tires harden with age. Even with tread, old rubber loses grip.
✅ Rider Strategies
- Check DOT date code – older than 5 years = replace
- Inspect for cracks, flat spots, or uneven wear
- Spin wheels – look for wobbles or dents in rims
🛠️ DIY Drill
Practice reading the DOT code on your own tires (last 4 digits = week/year). Build the habit of checking age, not just tread.
| What to Check | Red Flag | Notes |
|---|---|---|
| Tire age | 5+ years | Replace regardless of tread |
| Tread wear | Uneven/flat spots | Possible alignment issue |
| Wheels | Dents, wobble | Crash or pothole damage |
3. Brakes
The Challenge: Brakes are your lifeline. Worn pads, warped rotors, or old fluid mean unsafe stopping and costly repairs.
🚫 Myth‑busting: “If the bike stops, the brakes are fine.”
Reality: Pads can be nearly gone, rotors warped, or fluid contaminated – all invisible until you inspect closely.
✅ Rider Strategies
- Check pad thickness (replace if less than 2–3 mm)
- Spin wheels and apply brakes – feel for pulsing (warped rotors)
- Check fluid color – dark = overdue for flush
🛠️ DIY Drill
On your own bike, shine a flashlight at the calipers. Learn to spot pad thickness and rotor condition quickly.
| What to Check | Red Flag | Notes |
|---|---|---|
| Brake pads | Less than 2 mm | Immediate replacement |
| Rotors | Pulsing, grooves | Warped or worn |
| Fluid | Dark, low | Flush required |
4. Chain & Sprockets
The Challenge: A neglected chain and sprockets mean poor performance and expensive replacement.
🚫 Myth‑busting: “If the chain isn’t rusty, it’s fine.”
Reality: Chains can be stretched, kinked, or sprockets hooked even if they look clean.
✅ Rider Strategies
- Check slack – excessive slack = stretched chain
- Inspect sprocket teeth – hooked or sharp = worn
- Spin wheel – look for tight spots or stiff links
🛠️ DIY Drill
On your own bike, rotate the wheel and watch chain tension. Learn to spot uneven slack (a sign of wear).
| What to Check | Red Flag | Notes |
|---|---|---|
| Chain slack | Excessive or uneven | Stretched chain |
| Sprockets | Hooked teeth | Replace set |
| Links | Kinked, stiff | Chain near failure |

5. Suspension
The Challenge: Suspension affects comfort, handling, and safety. Leaks or worn components are costly to fix.
🚫 Myth‑busting: “If it bounces, it’s fine.”
Reality: Suspension can feel okay but still leak oil, have blown seals, or be dangerously soft.
✅ Rider Strategies
- Check fork seals for oil leaks
- Push down on forks and shock – should rebound smoothly
- Look for rust or pitting on fork tubes
🛠️ DIY Drill
On your bike, compress the forks while holding the front brake. Learn the feel of smooth vs. sticky rebound.
| What to Check | Red Flag | Notes |
|---|---|---|
| Fork seals | Oil on tubes | Seal replacement needed |
| Shock | Bouncy, no damping | Worn shock |
| Fork tubes | Rust, pitting | Damages seals quickly |
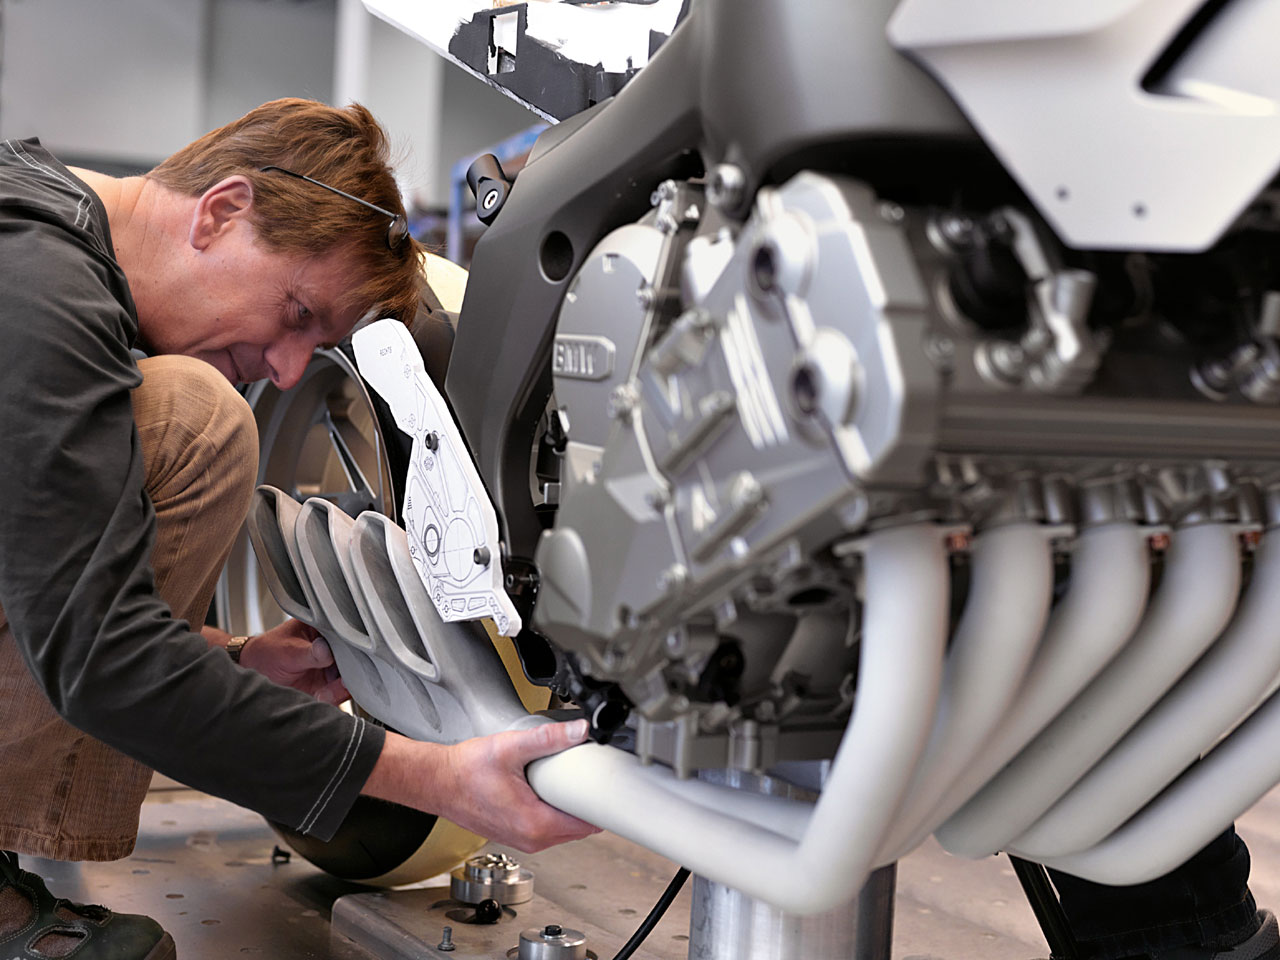
6. Engine
The Challenge: The engine is the heart of the bike. Strange noises, smoke, or leaks can mean expensive repairs.
🚫 Myth‑busting: “If it starts, the engine must be fine.”
Reality: Engines can run with worn valves, low compression, or oil leaks – hiding costly issues.
✅ Rider Strategies
- Start cold – hard starting = possible valve or carb issues
- Listen for knocking, ticking, or rattling
- Check for smoke (blue = oil burning, white = coolant leak)
- Inspect for oil leaks around gaskets
🛠️ DIY Drill
On your own bike, listen carefully at idle and under throttle. Train your ear to distinguish normal mechanical noise from knocks or rattles.
| What to Check | Red Flag | Notes |
|---|---|---|
| Startup | Hard to start cold | Possible valve/carb issue |
| Exhaust smoke | Blue/white smoke | Oil or coolant burning |
| Leaks | Oil around gaskets | Costly repairs ahead |
7. Controls & Cables
The Challenge: Sticky throttles, stiff clutches, or frayed cables make riding unsafe and unpleasant.
🚫 Myth‑busting: “If the lever moves, the cable is fine.”
Reality: Cables can fray internally or bind, failing suddenly without warning.
✅ Rider Strategies
- Check throttle snaps back smoothly
- Inspect clutch cable for frays or stiffness
- Ensure levers and pedals move freely with proper free play
🛠️ DIY Drill
On your bike, pull the clutch lever slowly and feel for smoothness. Compare to throttle snap‑back – both should be crisp and easy.
| What to Check | Red Flag | Notes |
|---|---|---|
| Throttle | Doesn’t snap back | Sticky cable |
| Clutch cable | Frayed, stiff | Replace immediately |
| Levers/pedals | Loose or bent | Crash damage |
8. Electrical System
The Challenge: Weak batteries, bad wiring, or failing lights can leave you stranded or invisible at night.
🚫 Myth‑busting: “If the headlight works, the electrics are fine.”
Reality: Charging systems can fail even if lights come on. A weak stator or regulator won’t show until tested.
✅ Rider Strategies
- Test all lights, horn, and indicators
- Check battery terminals for corrosion
- Use a multimeter to confirm charging voltage (13.5–14.5V running)
🛠️ DIY Drill
On your bike, turn on all lights and horn at once. Watch for dimming – a weak battery or charging issue will show.
| What to Check | Red Flag | Notes |
|---|---|---|
| Lights | Dim, flicker | Weak battery/alternator |
| Battery | Corroded terminals | Poor maintenance |
| Charging | <13.5V running | Stator/regulator issue |
9. Frame & Alignment
The Challenge: The frame is the bike’s skeleton. Bent frames or poor alignment mean crash damage and unsafe handling.
🚫 Myth‑busting: “If it rides straight, the frame must be fine.”
Reality: Frames can be bent slightly and still feel okay – but alignment checks reveal the truth.
✅ Rider Strategies
- Look for weld cracks, fresh paint, or grinding marks (signs of repair)
- Check that wheels align when sighting down the bike
- Ensure handlebars and forks are straight, not twisted
🛠️ DIY Drill
On your own bike, sight from rear wheel forward. Train your eye to spot misalignment between wheels, forks, and bars.
| What to Check | Red Flag | Notes |
|---|---|---|
| Frame welds | Cracks, fresh paint | Crash repair attempt |
| Wheel alignment | Not in line | Bent frame or swingarm |
| Handlebars/forks | Twisted | Crash damage |
10. Test Ride
The Challenge: A bike can look perfect standing still but reveal problems once moving.
🚫 Myth‑busting: “If it starts and idles, it’s good to go.”
Reality: Only a test ride shows clutch feel, gearbox smoothness, handling, and hidden noises.
✅ Rider Strategies
- Check clutch engagement – smooth, not grabby
- Shift through all gears – no slipping or false neutrals
- Test brakes, steering, and suspension under load
- Listen for rattles, knocks, or vibrations
🛠️ DIY Drill
On your own bike, pay attention to clutch bite point and gearbox feel. Build awareness so you can spot issues quickly on a test ride.
| What to Check | Red Flag | Notes |
|---|---|---|
| Clutch | Slips, grabs | Worn clutch plates |
| Gears | False neutrals | Transmission wear |
| Ride feel | Pulls, shakes | Alignment or suspension issue |
Buy Smart, Ride Confident
Use the quick reference table below as a printable cheat sheet for your next viewing.
Used Bike Inspection Checklist (Top 10)
| # | Inspection Point | Key Risk | Red Flag |
|---|---|---|---|
| 1 | Paperwork & VIN | Stolen/salvage bike | Mismatched VIN/title |
| 2 | Tires & Wheels | Hidden crash/age | 5+ yrs old, bent rims |
| 3 | Brakes | Poor stopping | Pads <2mm, dark fluid |
| 4 | Chain & Sprockets | Power loss, failure | Hooked teeth, slack |
| 5 | Suspension | Unsafe handling | Leaking seals, bouncy |
| 6 | Engine | Costly repairs | Smoke, leaks, knocking |
| 7 | Controls & Cables | Unsafe operation | Frayed, sticky, bent |
| 8 | Electrical System | No start, no lights | Dim lights, low voltage |
| 9 | Frame & Alignment | Crash damage | Cracks, misaligned wheels |
| 10 | Test Ride | Hidden issues | Slipping clutch, false neutrals |
🏍️ Tip: Bring a flashlight, tire gauge, and a friend. A second set of eyes often spots what excitement might miss.
