Section Five: Routes and Lessons – Learning to Ride
Where to go, where to start to optimize your riding skills and not miss anything. Here’s how I started, maybe it will work for you too.
This section will help you out, just relax and read on…
Routes and Lessons – Learning to Ride
- Learning to ride: Haven’t Taken a MSF Course
- Learning to ride: You Have Taken a MSF Course
Suggestions on Where and How to Start Riding
If you haven’t taken an MSF (Motorcycle Safety Foundation) course, reconsider. The Hurt Report shows that riders who complete a course more than double their odds of avoiding an accident. Beyond safety, MSF courses also increase riding enjoyment.
If you still choose not to take a course, it’s actually safer to teach yourself than to be taught by a friend (unless they are a certified instructor). The Hurt Report found that riders taught by friends had higher accident rates than those who taught themselves.
Start with a good book on motorcycle riding (check your local library). Read it cover to cover before touching the bike. Then, take the book with you to a large empty parking lot, far from vehicles, posts, or walls.
Begin with the engine off. Learn the controls: steering, brakes, horn, turn signals, kill switch. Have a friend push you around to practice balance and stopping. Once comfortable, start the engine and practice clutch control, braking, and the friction zone, but stay in low gear and at low speeds. Practice for hours if needed.
By the end of a full day in the lot, you should have enough basic skills to begin practicing on the road. Keep following the book’s instructions and tips for safe road riding.
If You Have Taken a MSF Course
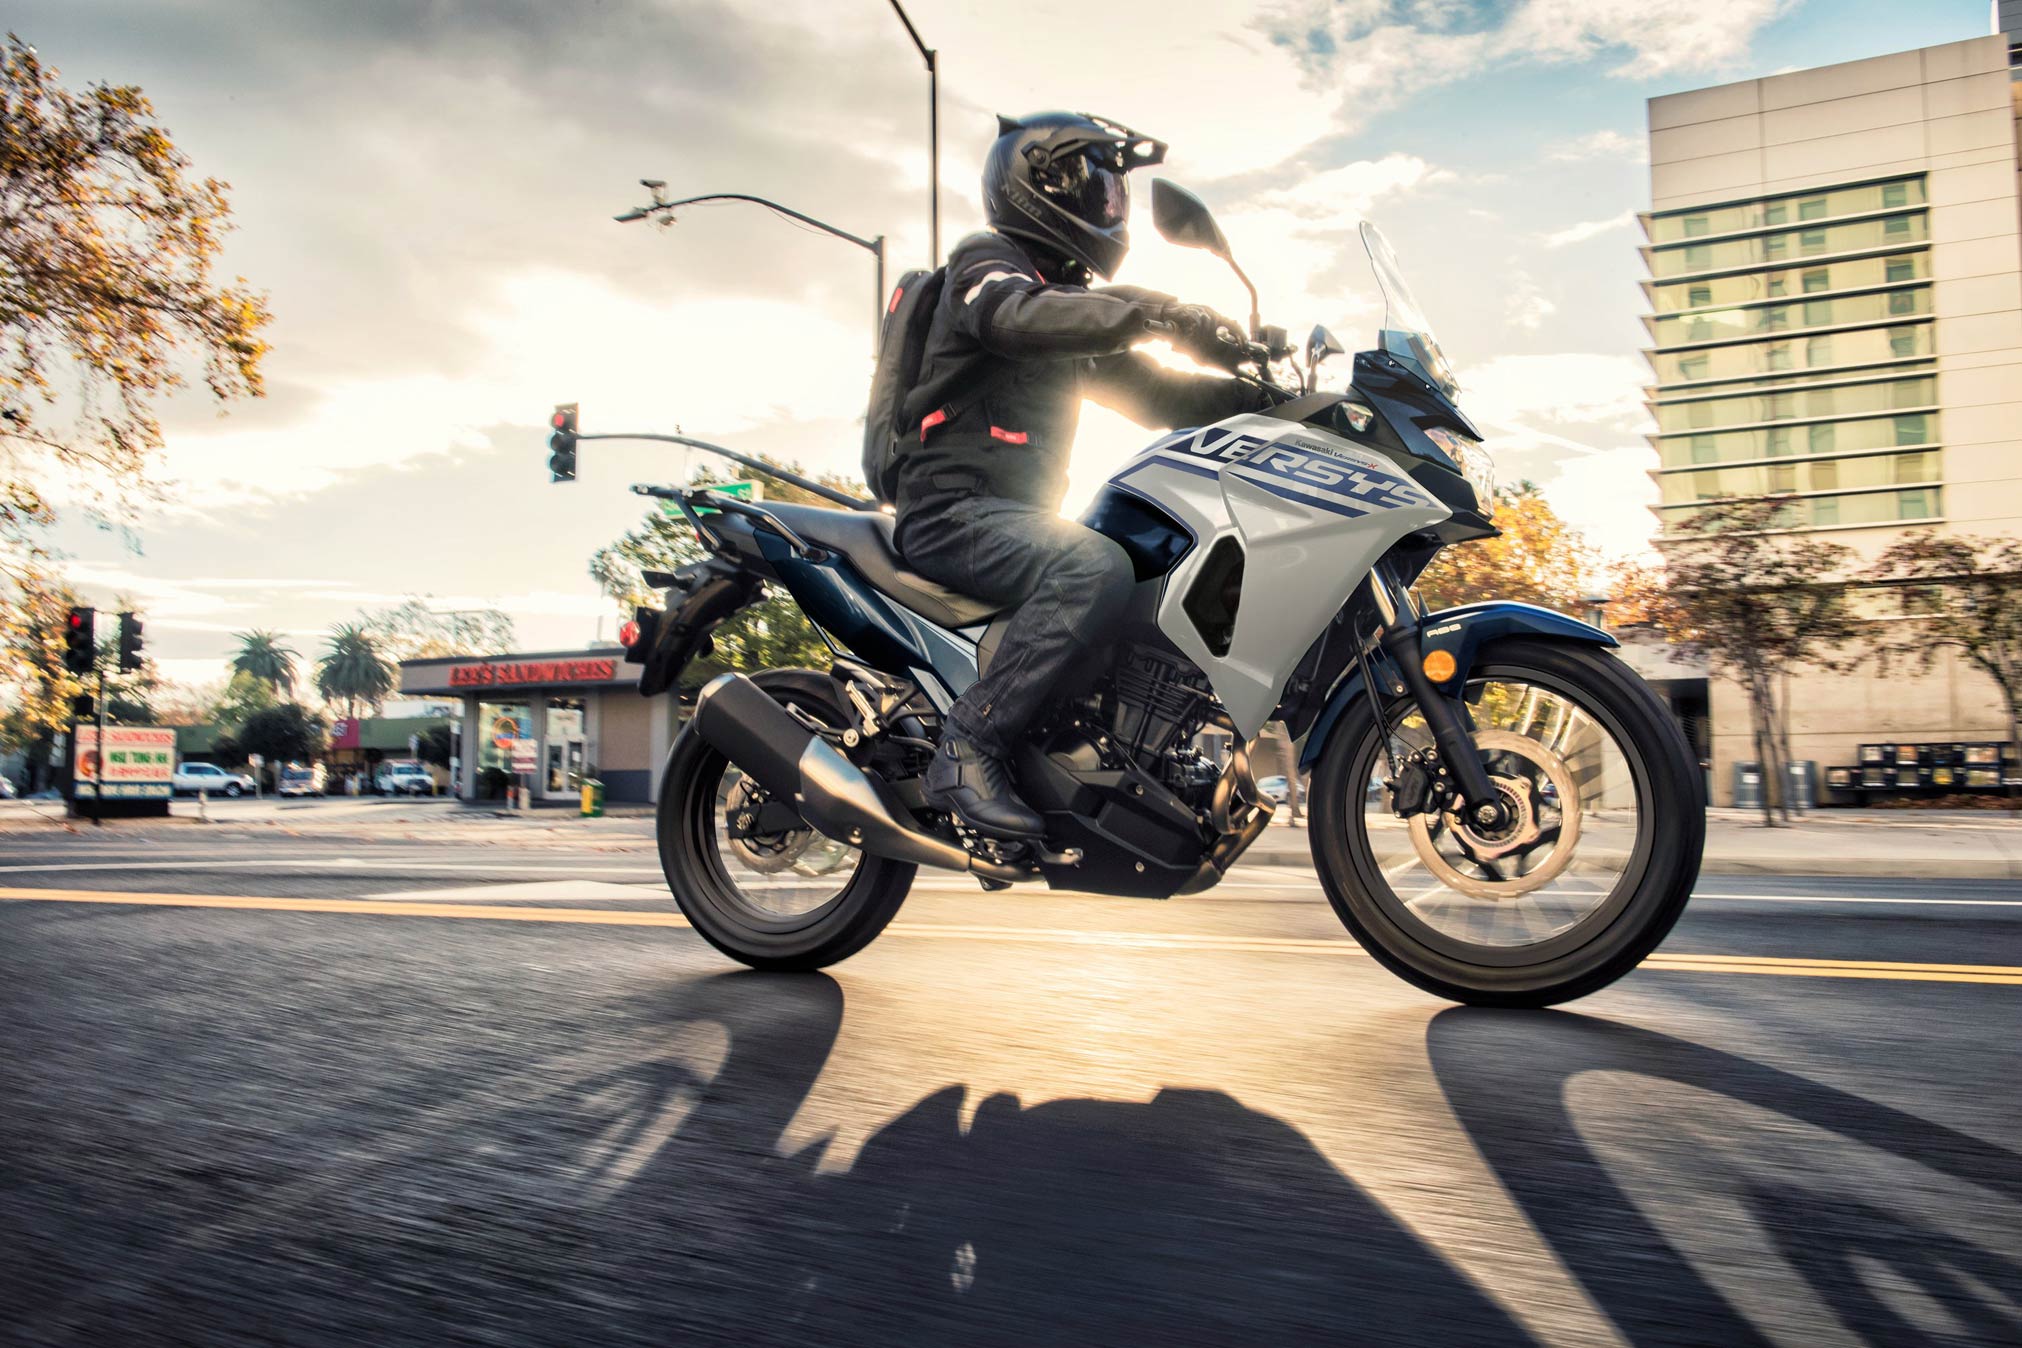
Congratulations, you’re ready to try the road. Riding on the street is even more fun than the parking lot, but preparation is key. Wear all your safety gear (helmet, boots, gloves, jacket, pants) and check your bike (tires, brakes, horn, kill switch, lights, signals).
Ensure your motorcycle is licensed and insured. If possible, have a friend follow you in a car to act as a buffer from traffic and to assist if needed. Having that “shield” behind you provides peace of mind.
Once you’re geared up and ready, it’s time to hit the road, carefully.
Step One: You Made It This Far, No Turning Back Now
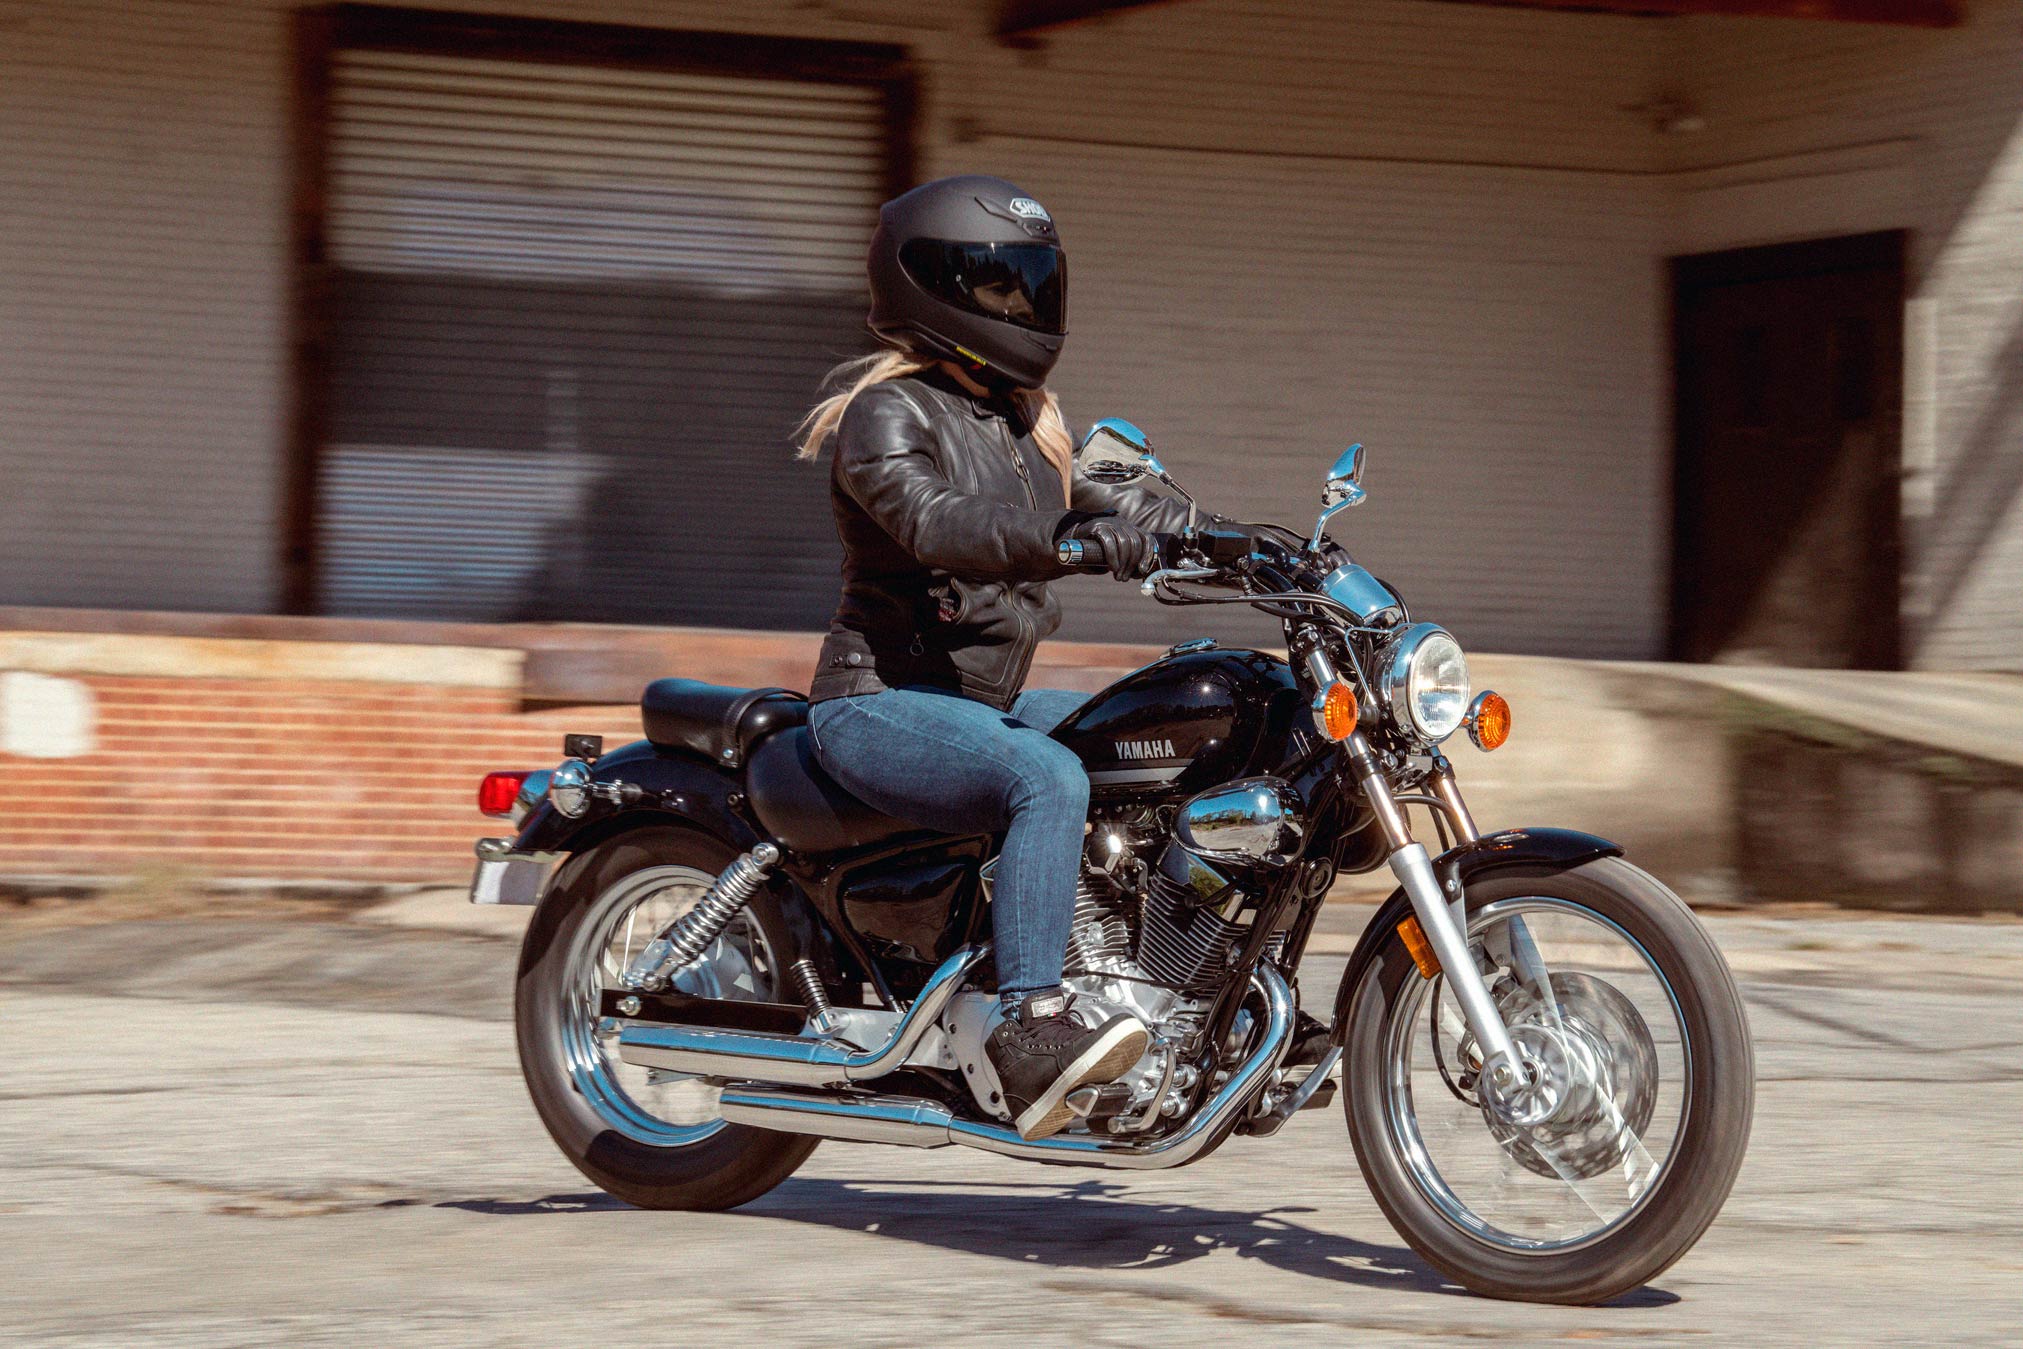
Get a street map of your area and plan a small neighborhood route. Avoid busy intersections, major roads, traffic, stop lights, and stop signs. Focus on speed control, braking, turning, hills, and throttle control.
Choose a starting location where you can sit on the bike without disrupting traffic, a driveway, alley, or quiet street. Pick a time with minimal traffic (weekday work hours, late night on a lit street, or an industrial area on weekends). The goal is to reduce pressure so you can focus on learning.
If you’re in a parking lot, practice your MSF course drills until you feel confident. You’ll know when you’re ready to move onto the road.
Route Number One: No Stop Signs
Start with a simple residential loop (about 2.5 km / 1 mile) that avoids intersections, traffic, and stop signs. School zones are ideal since speeds are low. Ride the loop repeatedly, focusing on smoothness and control.
My first route was just 2.1 km round trip, short, but effective. It may feel boring, but these easy steps build the foundation for handling highways and heavy traffic later.

Route Number Two: Stop Signs
Once you’ve mastered your first loop, it’s time to add stop signs. Create a slightly larger route (up to 5 km / 2 miles) that includes one or two stop signs but avoids busy intersections, major roads, traffic, and stop lights.
Practice clutch and throttle control at the stops. Learn your bike’s friction zone, the point where the clutch engages and the bike begins to move. Expect to stall at first; that’s normal. With practice, you’ll improve your coordination and confidence.
Repeat this route until it feels easy and natural. Then move on to the next challenge.
Route Number Three: Combo Number Two
Now, take your Route Two and add light traffic. This is your introduction to riding with other vehicles around you. Stick to residential streets with one or two stop signs, but ride at a time when cars, buses, and trucks are present.
The goal is to practice staying calm under pressure. You will stall in front of another vehicle at some point, it happens to everyone. Use this as practice for keeping your cool, restarting smoothly, and not letting frustration take over.
Ride this route until you’re comfortable and bored with it. Confidence comes with repetition.
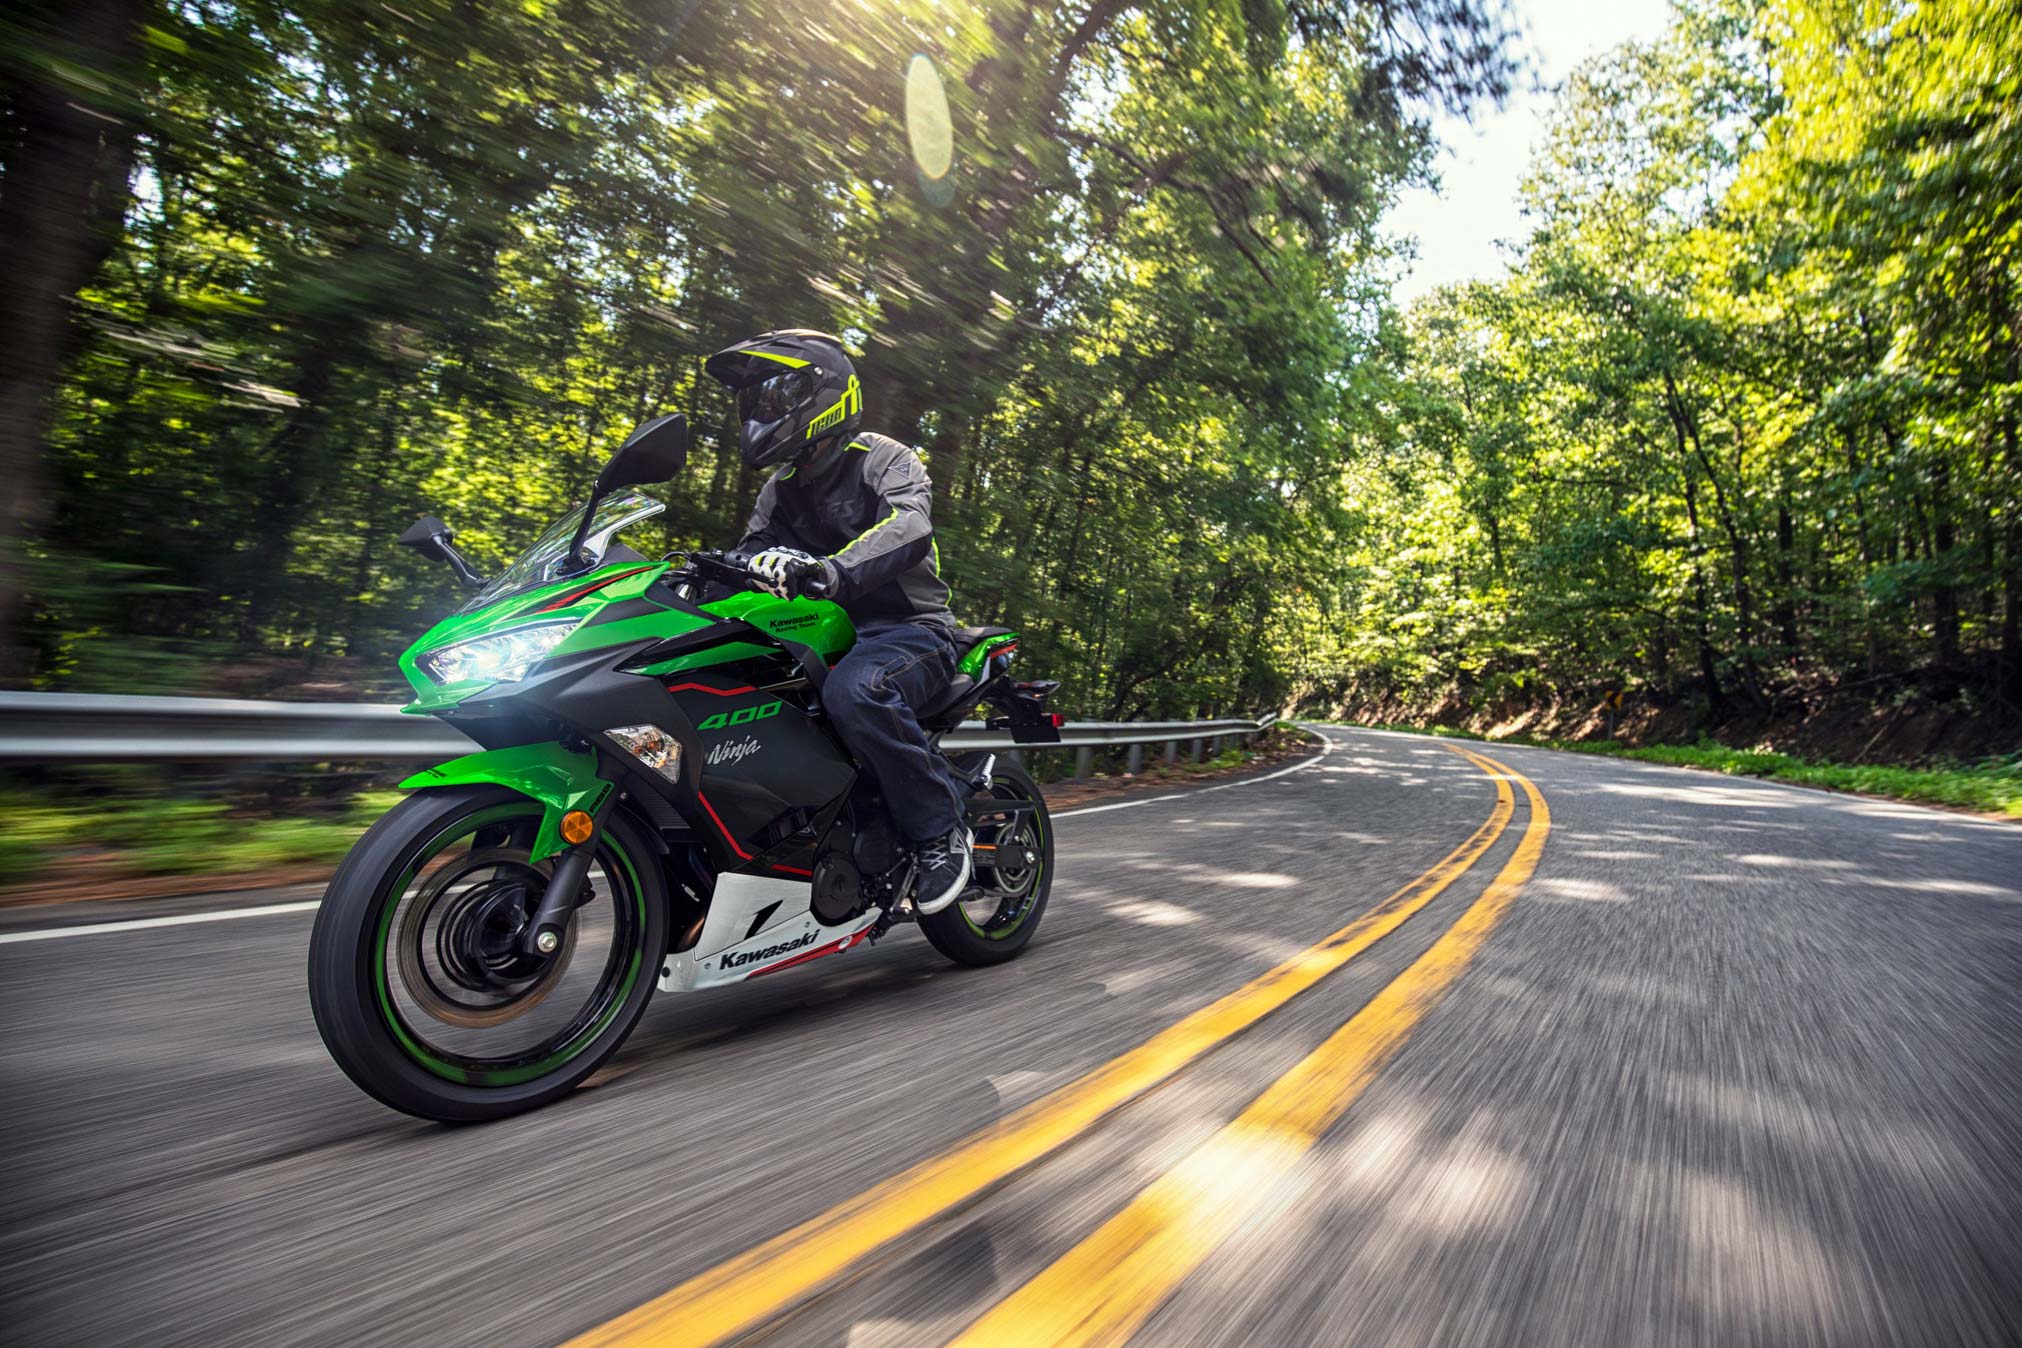
Route Number Four: Main Street
Time to step up. Add a short stretch of a main road (two lanes each way) to your existing Route Three. Stay in the curb lane and exit back onto a residential street before reaching any traffic lights. Avoid busy intersections for now.
The goal is to get used to the feel of riding on a larger, faster road with more traffic. Extend your time on the main road gradually as you gain confidence.
Practice this route until it feels routine. Then you’ll be ready for the next step.
Route Number Five: Main Streets, Traffic, and Traffic Lights
This is a big milestone. Create a square route of main roads that includes traffic lights but only right turns, no left turns yet. This keeps things simpler and avoids crossing lanes of traffic.
Be especially cautious at intersections. Half of all city motorcycle accidents occur at intersections, and half of those involve left-turning cars. Watch for signs a car may turn left in front of you: wheels angled, hood dipping, or distracted drivers not making eye contact.
Don’t get paranoid, but stay alert. Ride this route until you’re comfortable and ready for the next challenge, left turns at intersections.
Route Number Six: Main Streets, Left Turns, Traffic and Traffic Lights (Super-Sized)
Your motorcycle skills are growing quickly! Route Six builds on Route Five, but now you’ll be making left turns instead of right turns. This is a big step, since left turns are one of the most challenging maneuvers for new riders.
Many riders fear stalling in the middle of an intersection, and yes, it happens. The key is to stay calm, restart smoothly, and keep practicing. Don’t be paranoid about left-turning cars, but stay aware and alert.
Use the same square route from Route Five, but ride it in the opposite direction so all your turns are left turns. Practice until you’re comfortable and ready to move on.
Route Number Seven: Busy Intersections, Main Streets, Left Turns, Traffic and Lights
By now, you should be comfortable with traffic, main streets, left turns, and traffic lights. Route Seven adds the challenge of busy intersections. This isn’t as big a leap as it sounds, it’s essentially Route Six, but with heavier traffic.
Try riding Route Six during rush hour or add a busy intersection to your loop. The goal is to practice moving smoothly through intersections without holding up traffic. By now, you should be confident with the friction zone, acceleration, and turning.
If you stall in a busy intersection, don’t panic. Pull in the clutch, restart the bike, and accelerate smoothly through. Other drivers will wait, focus on staying calm and safe.
Route Number Eight: Rush Hour
Welcome to the busiest riding conditions you’ll face: rush hour traffic. This route is designed to expose you to heavy, dense traffic and to practice using the SPIDE system (Scan, Predict, Interpret, Decide, Execute).
Rush hour is when drivers often make poor decisions and may not see you. Think of it as swimming with sharks, you need to stay sharp, assertive, and aware. Use your motorcycle’s advantages: quick acceleration, strong braking, and nimble maneuverability. But remember, cars and trucks still outweigh you, so ride defensively.
If you feel overwhelmed, pull into a quiet alley or parking lot to regroup before continuing. Keep practicing until you’re comfortable navigating dense traffic without panic or frustration.
Route Number Nine: The Highway (AKA Superslab, Freeway)
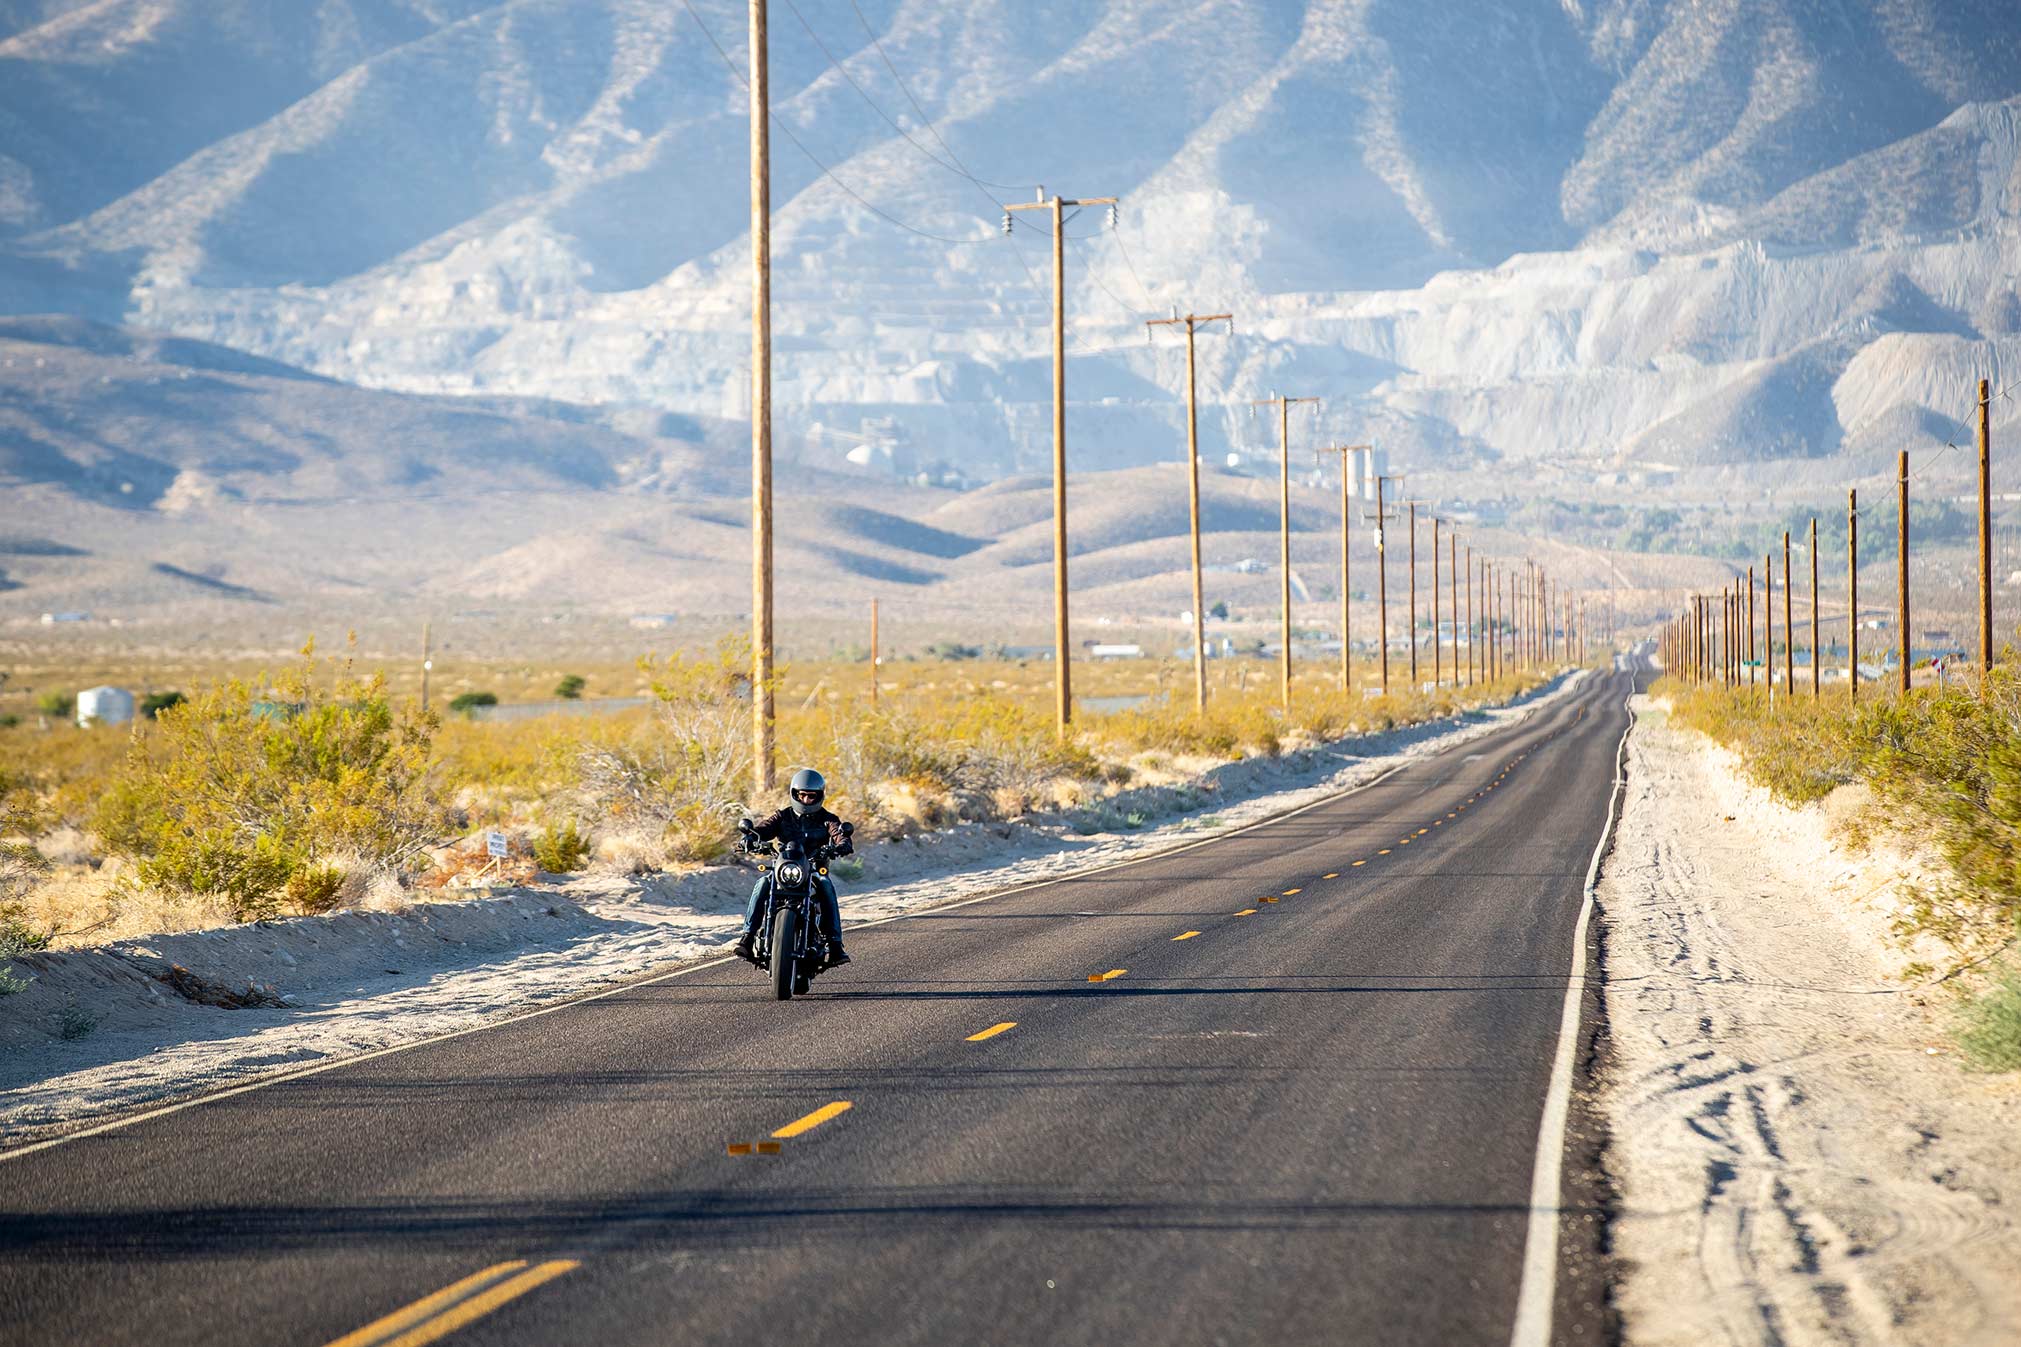
Highways are everywhere, vast stretches of asphalt and concrete connecting towns and cities. At some point, you’ll need to ride one, so it’s best to practice early. Choose a secondary highway or freeway: fast speeds, moderate traffic, and at least two lanes each way.
The goal is to get comfortable with higher speeds, lane changes, merging, and passing. Highways are often safer than city streets, only about 12% of accidents occur here, since traffic flows in the same direction and intersections are absent.
Start with a short trip (20–50 km / 12–30 miles). Check your fuel, tire pressure, and bike condition before heading out. Practice merging, exiting, and lane discipline. Touring outside your city or visiting a nearby town is a great way to build confidence and enjoy the freedom of the open road.
Route Number Ten: Happy Trails to You!
Mastered the highway? Congratulations, your skills now open the door to nearly anywhere. The next step is preparing for unpaved roads. Since there’s more unpaved road in the world than paved, it’s wise to practice before you encounter one unexpectedly.
Off-road riding is best on a Dual-Sport, Dirt Bike, or Motocross machine, but even street bikes can handle it with practice. Expect your bike to feel “looser” and wander more, this is normal as the front tire searches for traction. Stay relaxed, loose, and focused.
Tips for off-road riding:
- Stand on the pegs to raise your center of gravity and improve control.
- Shift up a gear to reduce rear wheel spin.
- If the rear slides, add throttle (“rooster” the wheel) to regain traction.
- Maintain momentum, sometimes 30 km/h (20 mph) is more stable than crawling at 5 km/h (2 mph).
- Stay calm, don’t tense up, and let the bike move beneath you.
Off-road practice builds confidence and adaptability. Even experienced riders refresh their skills annually.
Off-Road Levels of Difficulty
- Dry broken pavement (very old road)
- Dry wood and cobblestone road
- Dry smooth dirt alleyway/road
- Dirt in rain
- Hard-packed small gravel
- Loose dirt
- Loose packed small gravel
- Hard-packed semi-dry mud
- Loose packed normal gravel
- Sand
- Loose packed large gravel
- Loose wet mud / standing water
- Wet wood, cobblestone, manhole covers, or metal
- Snow on road
- Ice on road
Weather and Surface Challenges
You may find some surfaces harder or easier than others, everyone’s experience is different. The levels listed earlier are in the order I personally found them, but your journey may vary.
- Water / Snow / Ice: Extremely dangerous. These surfaces act like lubricants, reducing traction and often hiding hazards such as holes, grates, rocks, or metal. Crunchy snow provides slightly better grip, but it’s best to avoid riding in snow, ice, or flood conditions altogether.
- Rain: Less dangerous than snow or ice, but still requires caution. Avoid riding in the first 30 minutes of rainfall, when oil and fuel residues are being washed off the road. After that, wet pavement offers about 80% of the traction of dry pavement. Brake more gently, allow extra stopping distance, and rely more on the rear brake (20% front / 80% rear). Slow down your acceleration, turning, and braking. And don’t forget proper rain gear.
- Water on bad surfaces: Adding water to already slippery surfaces (like cobblestones or wood) makes them even more hazardous.
- Frozen water: Snow and ice are worse still, combining slipperiness with hidden dangers.
Remember: Do not tense up, lock your arms, or panic. As long as the bike is moving in the direction you want it to go, you’re fine. Stay loose, calm, and focused. These are challenging exercises, and the only way to improve is to practice them repeatedly in safe conditions, not when you’re forced into an unexpected detour with traffic behind you.